
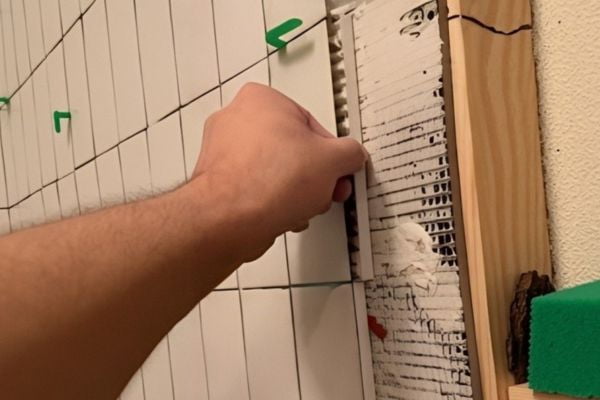
Finished your tiling but the edges look incomplete? It’s a frustrating feeling. You thought the hard part was over, but now you’re wondering if you missed a crucial step.
Yes, you can absolutely install tile trim after the tiles are already on the wall or floor. This process is called retrofitting. It involves using a specific type of trim and a strong adhesive to create a clean, finished edge without having to remove any of your hard work.
I remember a project where a client called me in a panic. Their contractor had finished a beautiful backsplash, but the exposed tile edges were sharp and looked unfinished. They were worried they’d have to rip it all out. I assured them that we could retrofit the trim, and in just a few hours, we transformed the look of their kitchen. It’s a common situation, but luckily, it has a straightforward solution. This article will walk you through everything you need to know about adding that finishing touch, even after the main job is done.
Do You Tile Trim Or Tile First?
You’re about to start a tiling project and you’re stuck. You have the tiles and the tile trim, but you don’t know which to put down first. The order matters for a clean look.
Ideally, you should install the tile trim first. This method, where the flange of the trim is set into the adhesive bed, provides the most secure and professional finish. It ensures the trim is an integral part of the installation from the start.
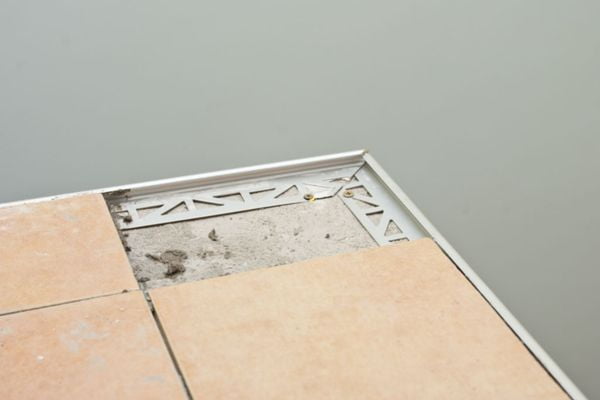
From my years in the business, starting with the trim is the standard for a reason. When I first started in a tile trim factory, this was one of the fundamental principles we learned. Placing the trim first allows you to bed its perforated flange directly into the tile adhesive. This creates a much stronger bond. Then, you lay the tile up to the edge of the trim. This method gives you a perfectly straight guide for your tiles and protects the tile edges from the very beginning.
However, there are situations where installing the trim after makes sense. For example, if you’re working with very complex tile patterns, fitting the trim after the tiles are set gives you more flexibility to get the layout just right. I once worked on a herringbone pattern where we did exactly that. We set the tiles first to ensure the pattern was perfect, then carefully added the trim. It required a steady hand and the right adhesive, but the result was flawless.
Here’s a simple table to help you decide:
| Method | Pros | Cons | Best For |
|---|---|---|---|
| Trim First | Very secure bond, protects tile edges during installation, creates a clean grout line. | Less flexible for complex tile layouts, requires precise planning. | Standard layouts, beginners, high-traffic areas. |
| Tile First | More flexibility for layout adjustments, easier for intricate patterns. | Relies on adhesive strength alone, can be trickier to get a flush finish. | Complex patterns, experienced installers, retrofitting projects. |
Ultimately, while the “trim first” method is the industry standard for durability and a professional finish, knowing that you can install it afterward provides a valuable backup plan.
Can you put tile trim on top of tile?
Your tile is down, but the edge is exposed and you’re looking for a simple fix. Can you just stick a piece of trim right on top? It seems too easy.
Yes, you can put tile trim on top of existing tile. This is often the go-to method for retrofitting. You’ll need to use a trim profile without an anchoring leg and secure it with a strong construction adhesive or silicone for a clean, protective finish.
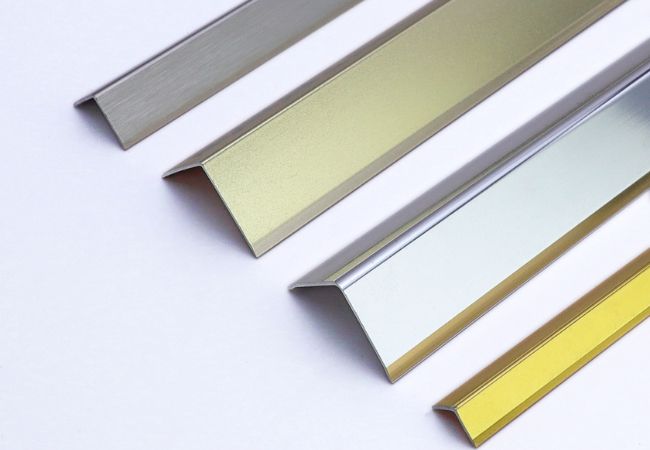
Putting trim on top of tile is a fantastic solution, especially when you’ve forgotten it or decided to add it later. When my friend Jacky was remodeling his bathroom, he ran into this exact issue. He’d done a great job with the tiling but the edge where it met the painted wall looked raw. Ripping out tiles wasn’t an option. I told him about surface-mounted trims. These are L-shaped or quarter-round profiles designed specifically for this purpose.
The key is preparation and using the right adhesive. First, you need to make sure the edge of the tile and the wall are perfectly clean—no dust, no grout haze, nothing. I recommend wiping it down with a bit of rubbing alcohol. Then, you apply a continuous bead of high-quality construction adhesive or 100% silicone to the back of the trim. When you press it into place, make sure it sits flush against both the tile face and the substrate. I always use painter’s tape to hold the trim securely while the adhesive cures. This prevents it from slipping and ensures a tight bond.
This method is not just for mistakes. It’s also great for covering up minor chips or imperfections on an existing tile edge. It’s a trick I’ve used countless times to give a project a polished look without the cost and mess of starting over.
Can You Trim Tile That Is Already Installed?
The tile is set, but a cabinet or fixture won’t fit because a tile is in the way. The thought of removing the tile is daunting. Can you just trim it in place?
Yes, it is possible to trim a tile that is already installed, but it requires extreme care and the right tools. Using a rotary tool with a diamond wheel or an angle grinder allows for precise cuts without having to remove the tile from the wall or floor.
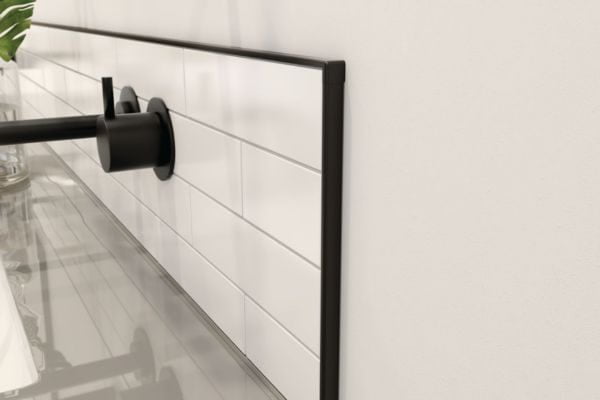
I’ve had to perform this kind of “surgery” on tile more than once. It’s a high-stakes job because one slip can crack the tile you’re trying to save, or the one next to it. The best tool for this is an oscillating multi-tool with a diamond or carbide grit blade. It gives you incredible control and minimizes dust compared to an angle grinder.
Here’s how I approach it. First, I use painter’s tape to mark the cut line very clearly. This not only guides my cut but also helps to reduce chipping along the edge. Then, I set the multi-tool to a medium speed and make a shallow scoring pass along the line. This creates a groove for the blade to follow. After the initial score, I make progressively deeper passes until I’m all the way through the tile. It’s not a race; patience is your best friend here.
For clean-up, a diamond file or a rubbing stone is perfect for smoothing any rough edges left by the cut. This technique saved a client’s custom vanity installation recently. The counter was just a fraction of an inch too wide, and trimming the top edge of a single tile in place was the only solution that didn’t involve major demolition. It’s a bit nerve-wracking, but with a steady hand, it’s a total project saver.
Can You Replace Tile Trim Without Removing Tiles?
Your tile is in perfect condition, but the trim is damaged, dated, or the wrong color. The idea of tearing out perfectly good tile just to replace the trim is painful.
Yes, you can often replace tile trim without removing the tiles, especially if it’s a surface-mounted or “retrofit” style trim. For standard trim set under the tile, the process is more difficult but can sometimes be done with careful cutting and prying.
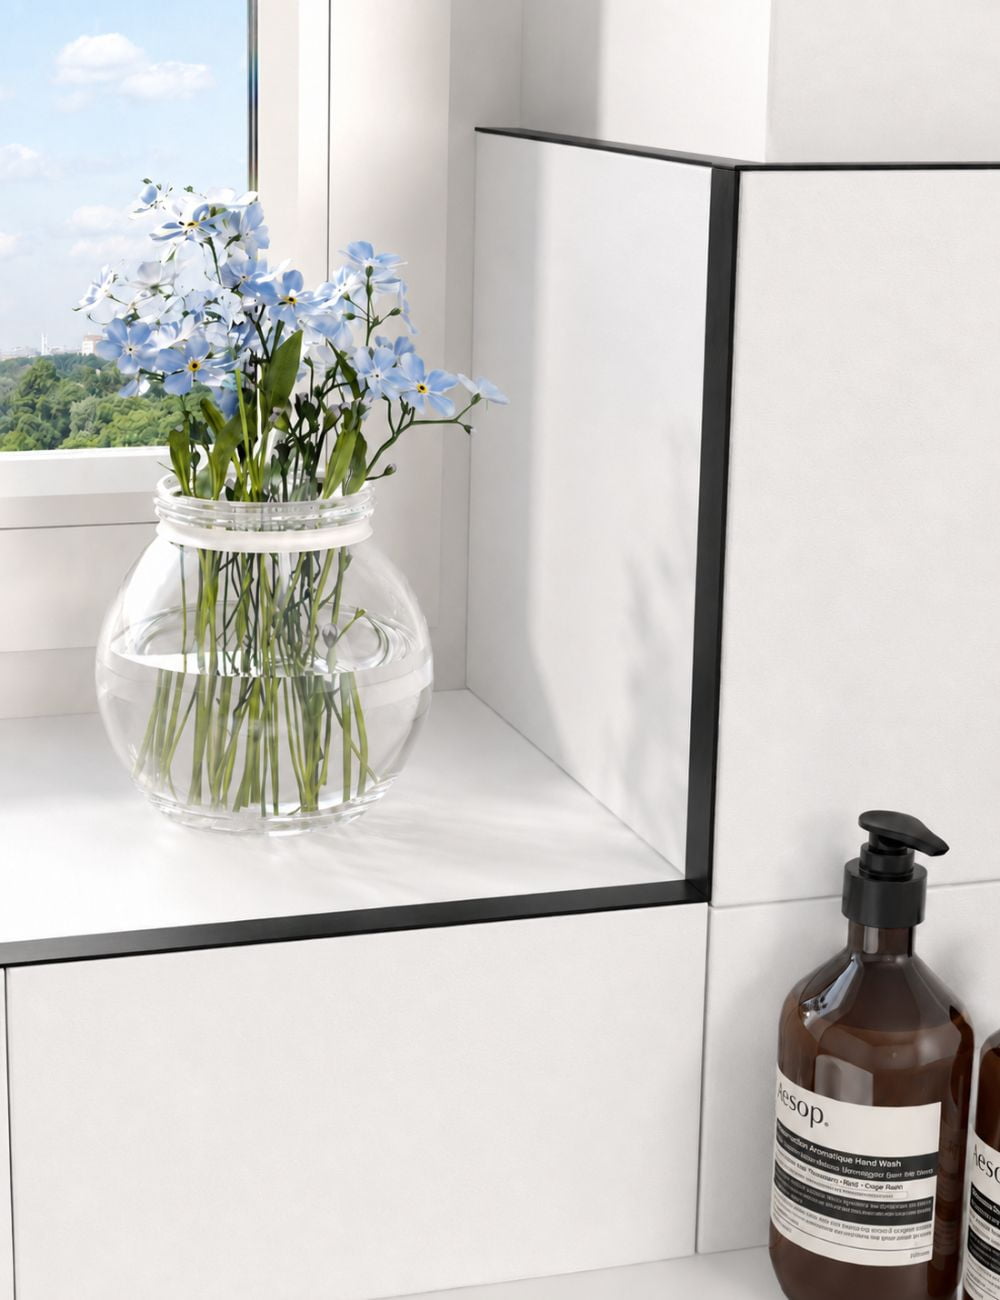
Replacing tile trim is a common request I get, especially for renovations where the old plastic trim has yellowed or cracked. If you’re lucky, it’s a simple retrofit trim that was glued on top. In this case, you can often soften the adhesive with a heat gun on a low setting and carefully pry it off with a putty knife.
If the trim is the standard type with a flange tucked under the tile, it’s much trickier. I had a situation where a client wanted to switch their chrome trim to matte black to match new fixtures. I had to use my multi-tool with a thin metal-cutting blade to very carefully cut the face of the old trim off, leaving the flange buried under the tile. This is delicate work. You have to be incredibly careful not to scratch the tile surface. Once the visible part of the old trim is gone, you’re left with a clean edge. You can then install a new, surface-mount L-shaped trim over the edge to cover the old flange and give the appearance of a brand new installation. It’s a meticulous process, but it’s a great way to update the look of a room without the huge expense and disruption of a full re-tile.
Conclusion
In short, yes, you can add or replace tile trim after tiling. It requires the right tools and techniques, but it’s a great way to achieve a professional finish retroactively.