
Picking tile trim can be tricky. The wrong size can ruin your whole tile job. I am here to help you find the perfect fit.
The most important thing is to choose tile edge trim that is the same depth as your tile, or just 1 to 2 millimeters deeper. This will give you a snug fit. It also makes your tiling project look professional.
Now you know the basic rule for choosing tile edge trim. But there is more to learn to make sure your project looks absolutely perfect. You want that amazing finish, right? So, let us look at some more specific questions you might have.
How To Choose The Right Size Tile Edge Trim?
Are you confused by all the different trim sizes out there? Do you worry about getting a messy finish on your tile work? Let us make choosing the right tile edge trim simple and clear for you.
To choose the right size trim, first measure the thickness of your tile. Then, select a trim profile that matches this depth. Or, you can pick one that is slightly larger, about 1 to 2 millimeters more. Also, think about the style of the trim you want.
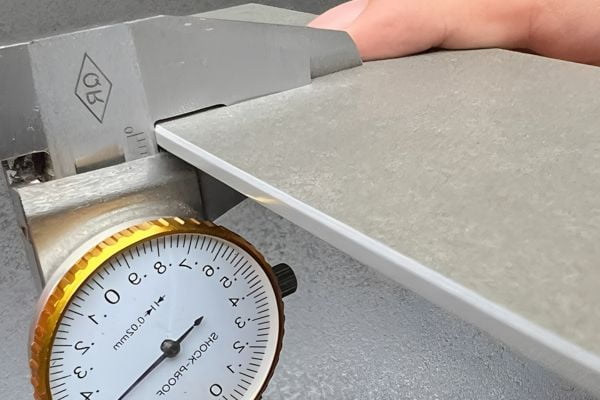
Choosing the right size tile edge trim is mostly about your tile’s thickness. Get a good ruler or a caliper to measure your tile. Measure a few tiles if you can, just in case there are small differences. Once you have that measurement, you are ready to pick your trim. For example, if your tile is 8mm thick, you will look for an 8mm trim. Sometimes, you might want to go just a little bigger, like 9mm or 10mm for an 8mm tile. This can be helpful if you are using a bit more adhesive under the tiles, or if the tiles themselves are not perfectly flat. A slightly deeper trim can cover any small gaps and make sure the tile edge is protected. I remember one project where I used tiles that were a bit uneven. I chose a trim that was 1mm deeper than the thickest part of the tile. It worked out great and hid those small imperfections.
Here is a simple guide:
| Tile Thickness | Recommended Trim Depth | Why This Works Well |
|---|---|---|
| 6mm | 6mm or 7-8mm | Gives a snug fit or a little extra space for adhesive |
| 8mm | 8mm or 9-10mm | Fits most standard tiles with common trim sizes |
| 10mm | 10mm or 11-12mm | Good for thicker floor tiles or some wall tiles |
| 12.5mm | 12.5mm or 13-14mm | Often used for natural stone or thicker pavers |
Always check the manufacturer’s information for both the tile and the trim if you are unsure.
What Size Trim For My Tiles?
So, you have your beautiful tiles all ready to go. Now you have to decide on the trim. If you get this part wrong, your whole project can suffer. Let us figure out the perfect trim match for your specific tiles.
The trim size for your tiles depends directly on how thick they are. First, measure your tile. Then, pick a trim that is the same depth as your tile or about 1 to 2 millimeters deeper. This is the main rule.
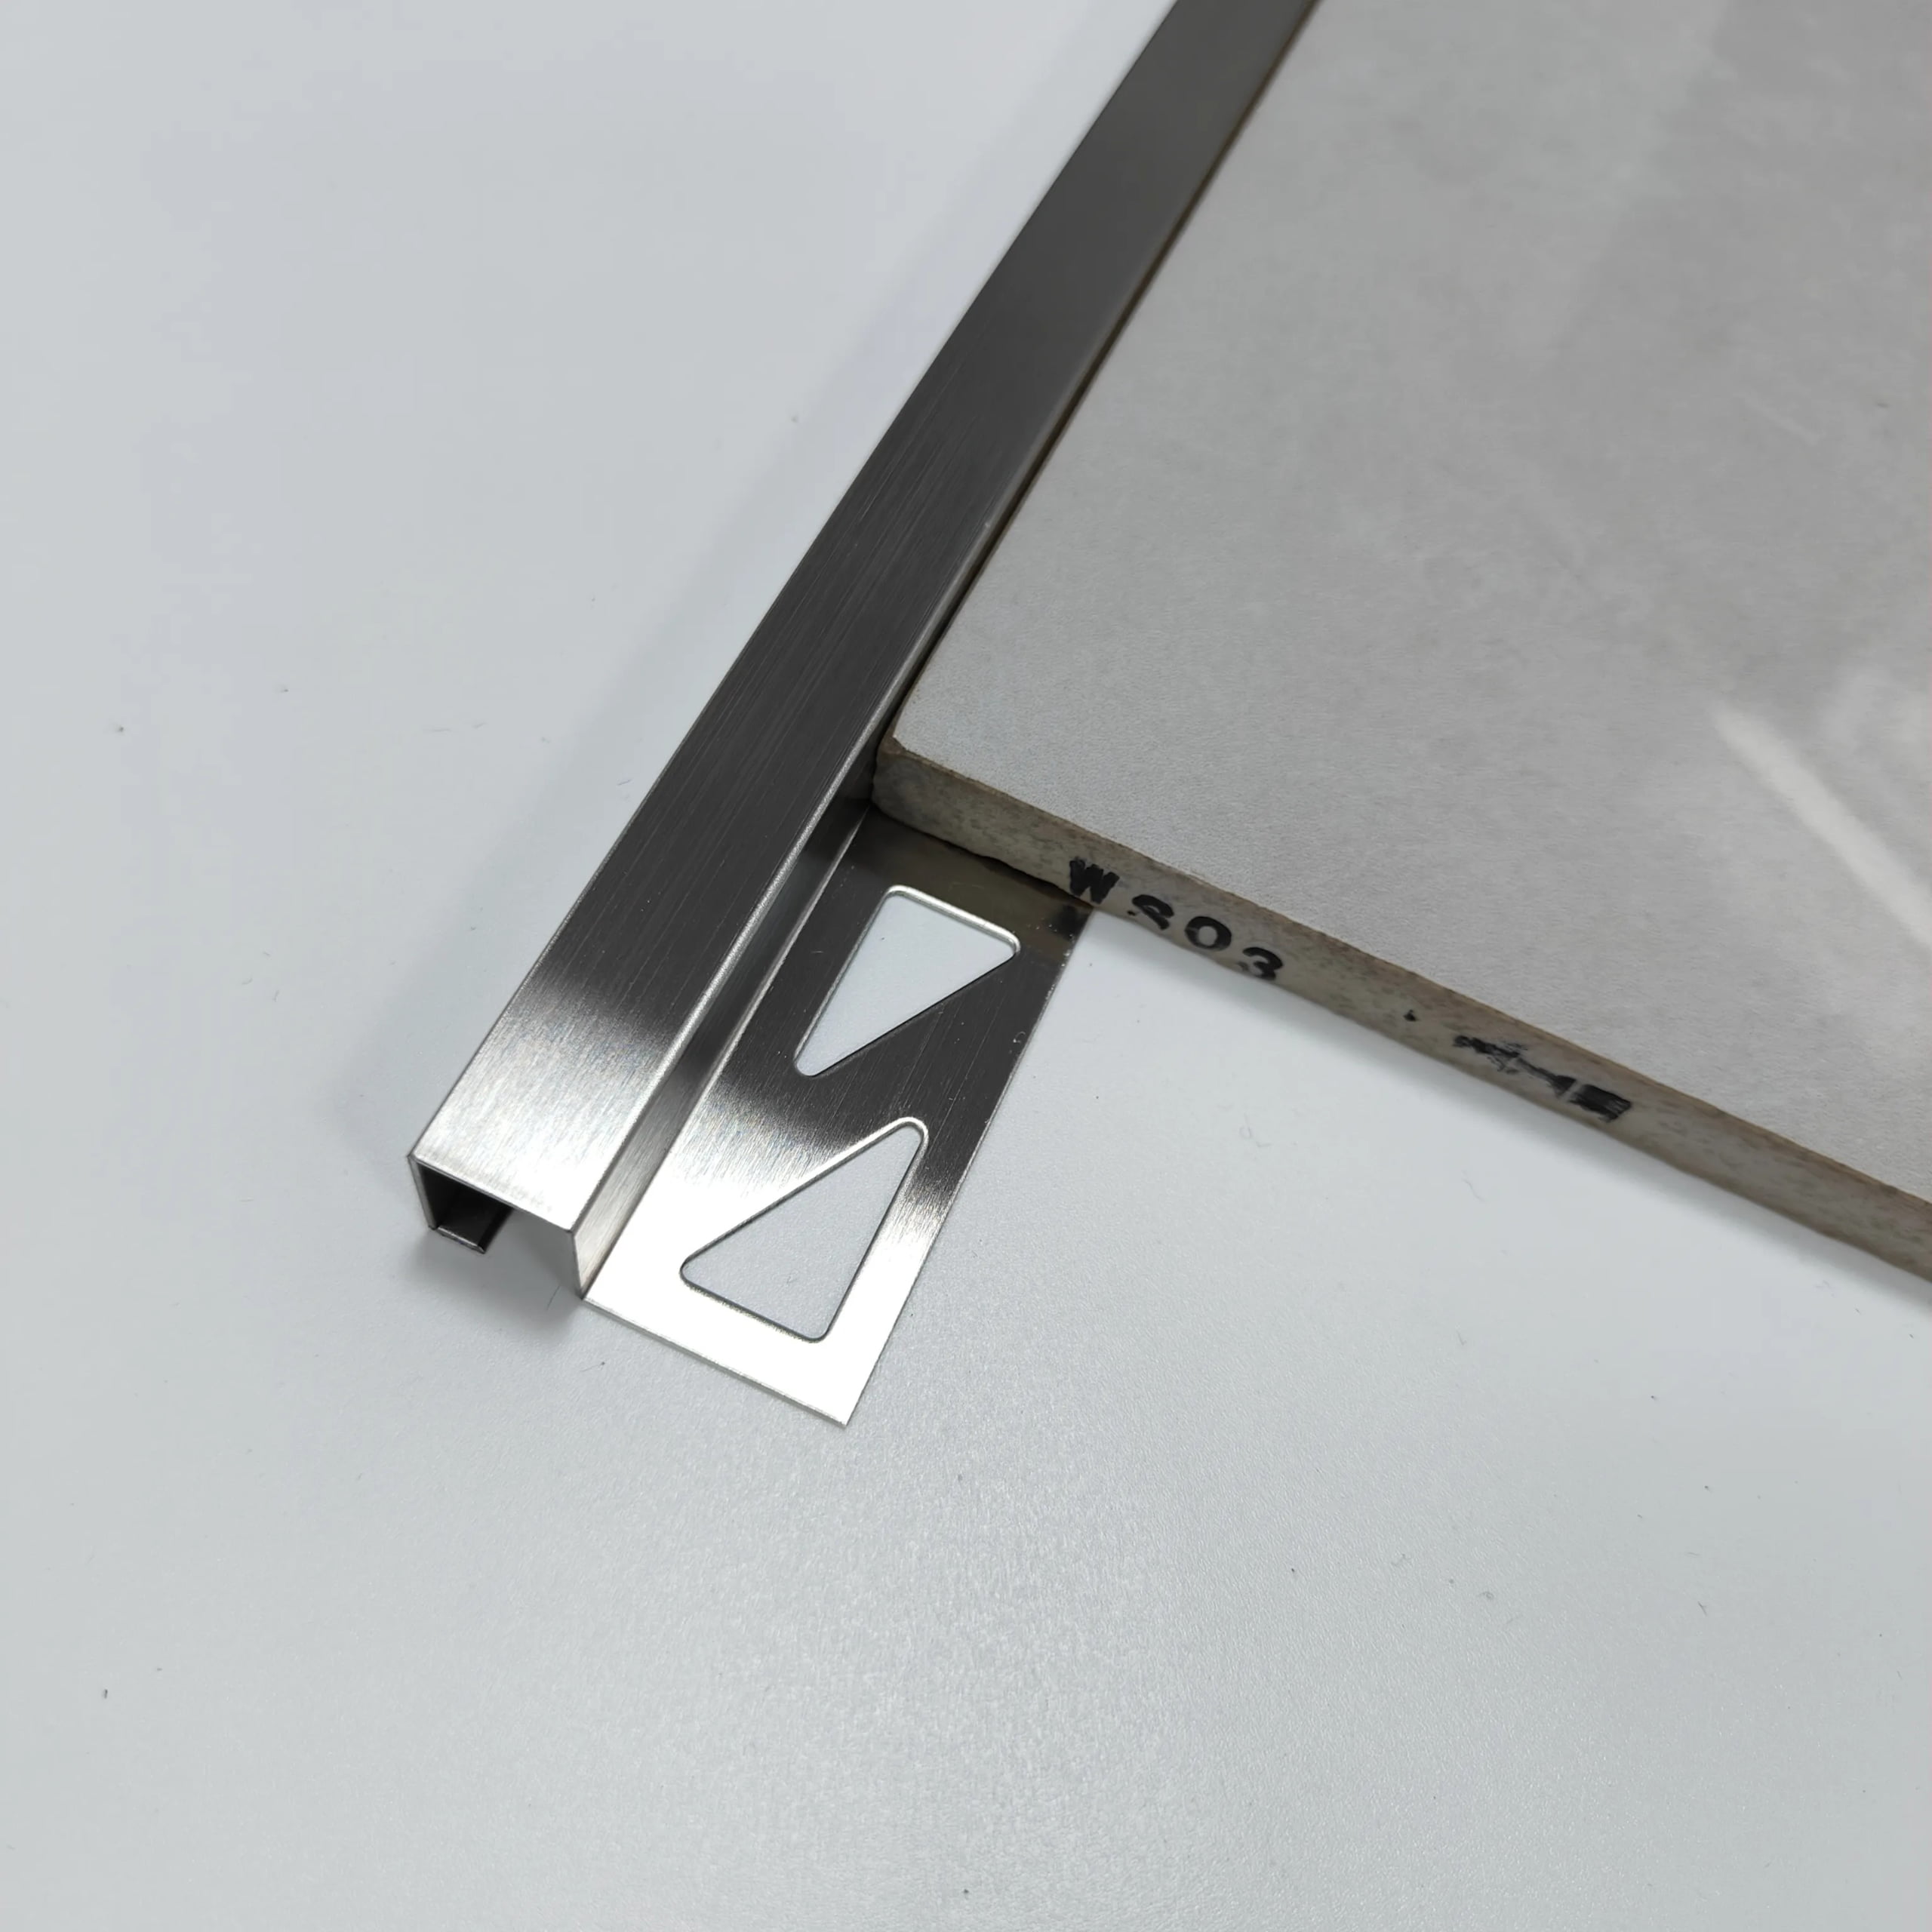
The main idea, as we have said, is that your tile’s thickness tells you the trim depth. Different types of tiles have different thicknesses. For example, ceramic wall tiles are often thinner than porcelain floor tiles. Natural stone tiles, like marble or slate, can be even thicker and sometimes a bit irregular. Thin mosaic sheets might only need a 4.5mm or 6mm trim. But a chunky piece of natural stone might need a 12.5mm trim, or even 15mm. It is also good to know that the “nominal” size (the size it is called) might not be the exact true size. An “8mm tile” might actually be 7.8mm or 8.2mm. So, measuring is key. Think about your adhesive too. If you plan to use a thick layer of adhesive, a trim that is 1-2mm deeper than the tile can be really helpful. This ensures the trim still sits right, relative to the tile surface, and does not get buried. I once did a kitchen backsplash with some handmade tiles that varied a bit in thickness. I measured several tiles and chose a trim that matched the thicker end of the range. It gave me a much cleaner line than if I had picked a trim that was too shallow for some of the tiles.
Here is a general idea for different tile types:
| Tile Type | Common Thickness Range | Suggested Trim Approach |
|---|---|---|
| Ceramic Wall Tile | 6mm – 8mm | Match the depth exactly or go up by 1mm |
| Porcelain Floor Tile | 8mm – 12mm | Match the depth or go up by 1-2mm for adhesive |
| Natural Stone | 10mm – 15mm+ | Match depth very carefully or go up by 1-2mm |
| Mosaic Sheets | 3mm – 6mm | Match depth; think about any backer board thickness |
Always measure your specific tiles because these are just general ranges.
Should Tile Trim Be Flush With Tiles?
Are you trying to get that really sleek, professional look for your tile installation? Are you wondering how high the trim should be compared to the tile? A trim that is not flush can really spoil how everything looks. Let us get this clear.
Ideally, your tile trim should be perfectly flush with the surface of the tile. Or, it can be just a tiny bit, less than 1 millimeter, above the tile. It should never be lower than the tile surface.
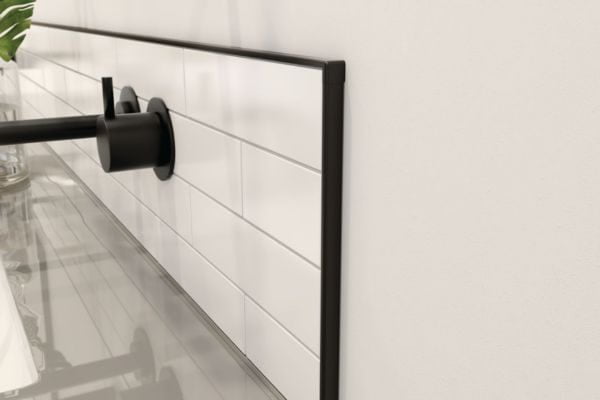
Most people want the trim to be level with the tile surface. This looks the best and feels smoothest. It also protects the edge of the tile from getting chipped. If the trim is slightly above the tile, say by less than 1mm, that is usually okay. This can happen with tiles that are not perfectly uniform in thickness, or it can be a deliberate choice to make sure the tile edge is fully covered. But you definitely do not want the trim to be lower than the tile. If the trim is lower, it leaves the tile edge exposed. This exposed edge can get damaged easily. It also looks unfinished and can trap dirt and grime, making it hard to clean. I remember seeing a bathroom where the trim was noticeably below the tile edge around the shower niche. It created a little ledge that always looked dirty. The installer probably used a trim that was too shallow for the tile and adhesive combination. It is a small detail, but it has a big impact on the final quality. Different trim profiles also play a role. A square edge trim looks best when it is perfectly flush. A round edge trim, because of its curve, might naturally sit so the peak of the curve is slightly above the flat tile surface, but the part of the trim that actually meets the tile edge should still align well with the tile’s depth setting.
Here’s a quick checklist for trim height:
- Your Goal: The top surface of the trim should be level with the tile surface.
- This is Acceptable: The top surface of the trim can be a maximum of 1mm above the tile.
- You Should Avoid This: The top surface of the trim should not be below the tile edge.
- Why This Matters: It protects the tile, looks clean, and prevents anything from snagging on an uneven edge.
How Do You Know What Size Schluter To Use?
Are you planning to use Schluter trim for your project? That is a great choice, as they make quality products. But sometimes their sizing system can seem a bit confusing at first. Do not let that slow you down. I will help you understand it.
The size of Schluter trim you need directly matches the thickness of your tile. For example, if you have a 10mm thick tile, you would typically use a 10mm Schluter profile. An example is the Rondec profile labeled as “100” for a 10mm tile.
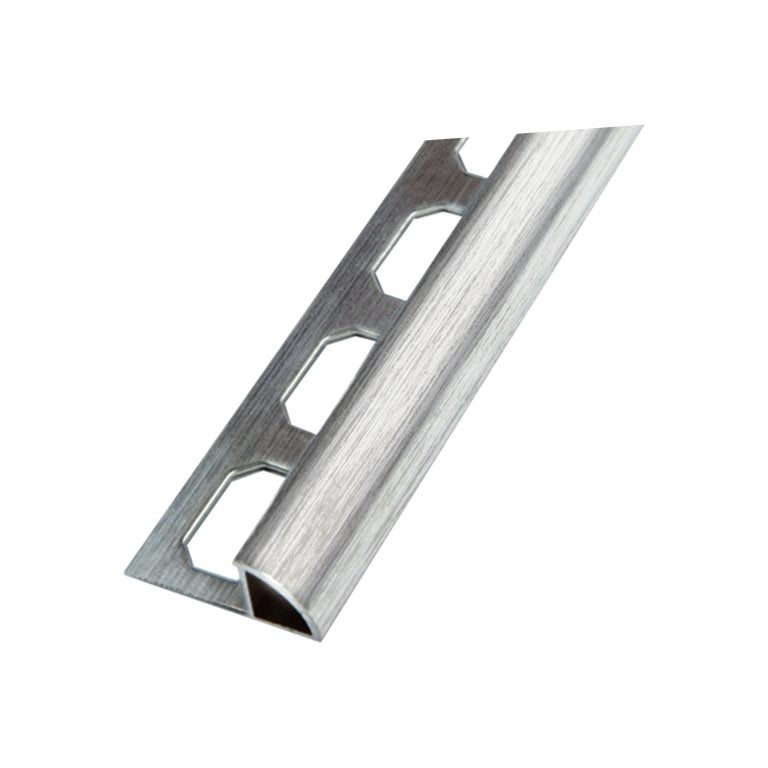
Schluter is a very popular brand for tile trims, and for good reason. The good news is that their sizing usually follows the same main rule: match the trim depth to your tile thickness. Schluter often includes the depth in the product name or code. For instance, a Schluter-JOLLY profile with “P 100” in its name is typically designed for a 10mm thick tile. The “100” part means 10.0 mm. Similarly, a Schluter-RONDEC “AE 80” would be for an 8mm tile. While this is a common pattern, it is always smart to double-check the product specifications sheet or the information on the Schluter website, especially if you are using a less common profile. I used Schluter-RONDEC for the edges of a shower bench I built. My tiles were 12.5mm thick. I selected the RONDEC profile that was specifically listed for 12.5mm tiles (which was labeled with “125”). The fit was absolutely perfect and gave a really clean, rounded edge. Schluter offers many different styles, like Rondec (round edge), Quadec (square edge), and Jolly (straight edge protection). The depth selection principle remains consistent across these protective edge profiles.
Here’s a look at some common Schluter profiles and their sizing:
| Schluter Profile Type | Example Name | Typical Sizing Logic from Name | Tile Thickness Example |
|---|---|---|---|
| Rondec (round edge) | RONDEC AE 100 | ‘100’ often means 10.0mm depth | 10mm |
| Quadec (square edge) | QUADEC K GS 80 | ’80’ often means 8.0mm depth | 8mm |
| Jolly (straight edge) | JOLLY P 60 | ’60’ often means 6.0mm depth | 6mm |
| Schiene (basic edge) | SCHIENE AE 125 | ‘125’ often means 12.5mm depth | 12.5mm |
Remember, for some specialized Schluter profiles like their DILEX movement joints, the sizing might also consider other factors like the width of the movement zone. But for standard edge trims, the tile thickness is your primary guide.
Conclusion
Picking the right size tile trim is quite simple. Just match your tile’s thickness for the trim depth. This is the key to a professional finish for your tile work.