Tired of seeing chipped, unfinished tile edges in your home? It’s a frustrating problem that can make a beautiful new tile job look incomplete and unprofessional, leaving you worried about future damage.
Tile trim is a finishing piece made of materials like metal or plastic. It’s designed to cover the raw, exposed edge of a tile, providing a clean, protective, and decorative border for your tile installations.
As a product engineer at NIUYUAN for over a decade, I’ve seen countless tiling projects. The difference between a good and a great one often comes down to the finishing touches. Tile trim isn’t just a minor detail; it’s a crucial component that protects your investment and elevates the entire look of a room.
It guards against sharp edges, prevents chips and cracks, and gives your project a polished, professional feel. Without it, you’re leaving your tile vulnerable and your design incomplete. Let’s dive deeper into why this small piece plays such a big role.
Is Tile Trim Necessary?
Worried your beautiful new tile will quickly get chipped and damaged? Exposed tile edges are a weak point, easily cracked by everyday bumps, ruining the look and feel of your space.
Yes, in most cases, tile trim is necessary. It protects the vulnerable, unglazed edges of tiles from chipping, cracking, and moisture, while also providing a safe, smooth, and professional-looking finish.

In my years of experience, I’ve seen the consequences of skipping this step. An untrimmed edge is not just an aesthetic issue; it’s a structural one. Think about high-traffic areas like floor transitions, shower walls, or kitchen backsplashes. These are places where edges are constantly exposed to impact and moisture.
Without trim, a simple knock from a vacuum cleaner or constant water exposure in a shower can lead to ugly chips and water seeping behind the tile, potentially causing much bigger problems down the road. It’s a small addition that provides significant long-term protection and peace of mind.
To break it down, here’s when tile trim is most critical:
| Location | Why It’s Necessary | Recommended Trim Material |
|---|---|---|
| Outside Corners | High risk of impact and chipping. | Metal (Aluminum, Stainless Steel) |
| Floor Transitions | Prevents tripping hazards and protects edges. | Aluminum, Brass |
| Shower/Wet Areas | Creates a seal against water intrusion. | Stainless Steel, PVC |
| Backsplash Edges | Provides a clean, finished look. | Metal, PVC |
What Can I Use Instead Of Tile Trim?
Don’t like the look of standard tile trim but still need to protect your tile edges? You want a clean finish, but the available options feel too bulky or don’t match your style.
Instead of traditional trim, you can use techniques like mitering the tile edges, using bullnose tiles which have a built-in rounded edge, or applying a clean line of caulk for a minimalist seal.

While I’m a big advocate for our products at NIUYUAN, I know that sometimes a different approach is needed to achieve a specific design vision. Mitering, for example, creates an incredibly high-end, seamless corner by cutting two tiles at a 45-degree angle. It requires a skilled installer but the result is flawless. Bullnose tile is another popular choice; it’s a special type of tile with a factory-finished rounded edge, perfect for ending a run of tile on a wall.
For a very simple, low-profile solution, a carefully applied bead of high-quality caulk can work, especially if the tile itself has a relatively clean edge, like glazed ceramic. Each alternative has its place, but it’s important to weigh the aesthetics against the level of protection required for the specific application.
Here’s a quick comparison of the most common alternatives:
| Alternative | Best For | Pros | Cons |
|---|---|---|---|
| Mitered Edge | Outside corners, modern designs | Seamless, high-end look | Requires precise cuts, fragile edge |
| Bullnose Tile | Wall edges, backsplashes | Clean, integrated finish | Limited tile availability |
| Caulking | Minimal gaps, wet areas | Minimalist look, waterproof seal | Can shrink or discolor over time |
| Wood/Stone Trim | Tying into other design elements | Natural, warm aesthetic | Requires sealing, not ideal for wet areas |
Where Do You Need Tile Trim?
You’re starting a tiling project and feel unsure about where to stop and start your tiles. Leaving an exposed edge looks unfinished and feels risky, but you’re not sure where trim is essential.
You need tile trim anywhere a tiled surface ends and exposes a raw edge. This includes outside wall corners, floor transitions, shower niches and curbs, and the edges of a kitchen backsplash.

Thinking through a project, the need for trim becomes clear. I always advise people to walk through the space and visualize the finished work. Any place where you can see or touch the side of a tile is a candidate for trim. Outside corners are the most obvious; they stick out and are magnets for bumps and scrapes. The transition from a tiled floor to another flooring type, like carpet or wood, is another critical spot to prevent a trip hazard and protect both surfaces.
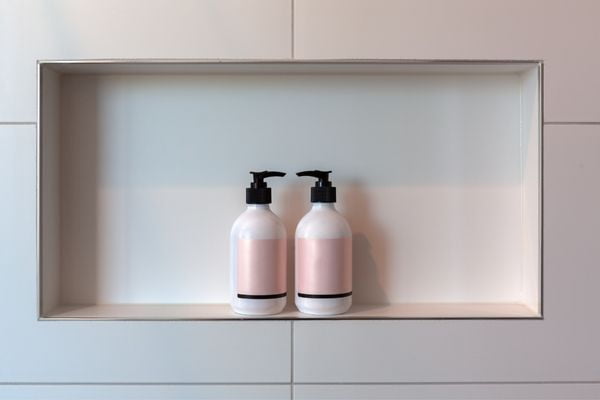
In the bathroom, shower niches and half-walls are perfect examples. The trim here not only looks clean but also provides an extra barrier against water getting behind the tiles. The same logic applies to the edges of a kitchen backsplash where it ends on an open wall. It’s all about creating a deliberate, finished boundary for your tile.
Can I Put Tile Trim On After Tiling?
Your tiling is done, but now you see the raw edges and regret not adding trim. You’re worried it’s too late to fix and that you’re stuck with an unfinished look.
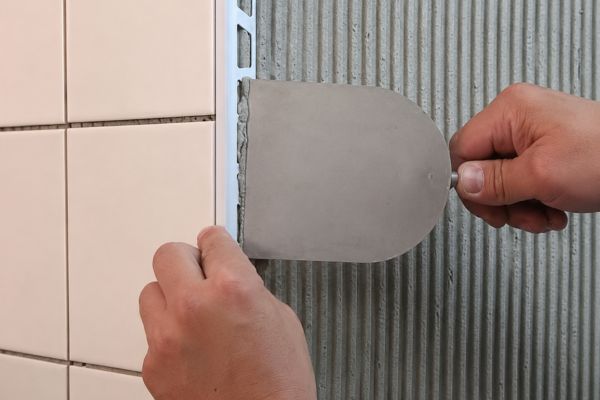
Yes, you can add certain types of tile trim after tiling is complete. These are often called “retrofit” trims and are designed to be installed over the existing tile edge using a strong adhesive.

It’s a common situation, and thankfully, there’s a solution. While the ideal method is to set the trim’s anchoring leg under the tile with thin-set mortar during installation, the industry has developed trims specifically for this purpose. I’ve helped many clients select the right retrofit profile. These trims typically have a C-shape or L-shape profile without the perforated anchoring leg. You simply apply a high-quality construction adhesive or silicone to the inside of the trim and press it firmly over the tile edge.
It’s a fantastic way to clean up an edge, add protection, or even just change the style after the fact without having to tear out any tile. The key is to ensure the tile edge is perfectly clean and to use the right adhesive to get a strong, lasting bond. It’s a practical fix that can make a huge difference to the finished project.
Conclusion
Tile trim is the essential final touch that protects your tile from damage, ensures safety, and gives every project a truly professional and complete look. It’s a master’s secret.
If you are currently looking to purchase or customize tile trims for your business, please feel free to contact us at any time.