
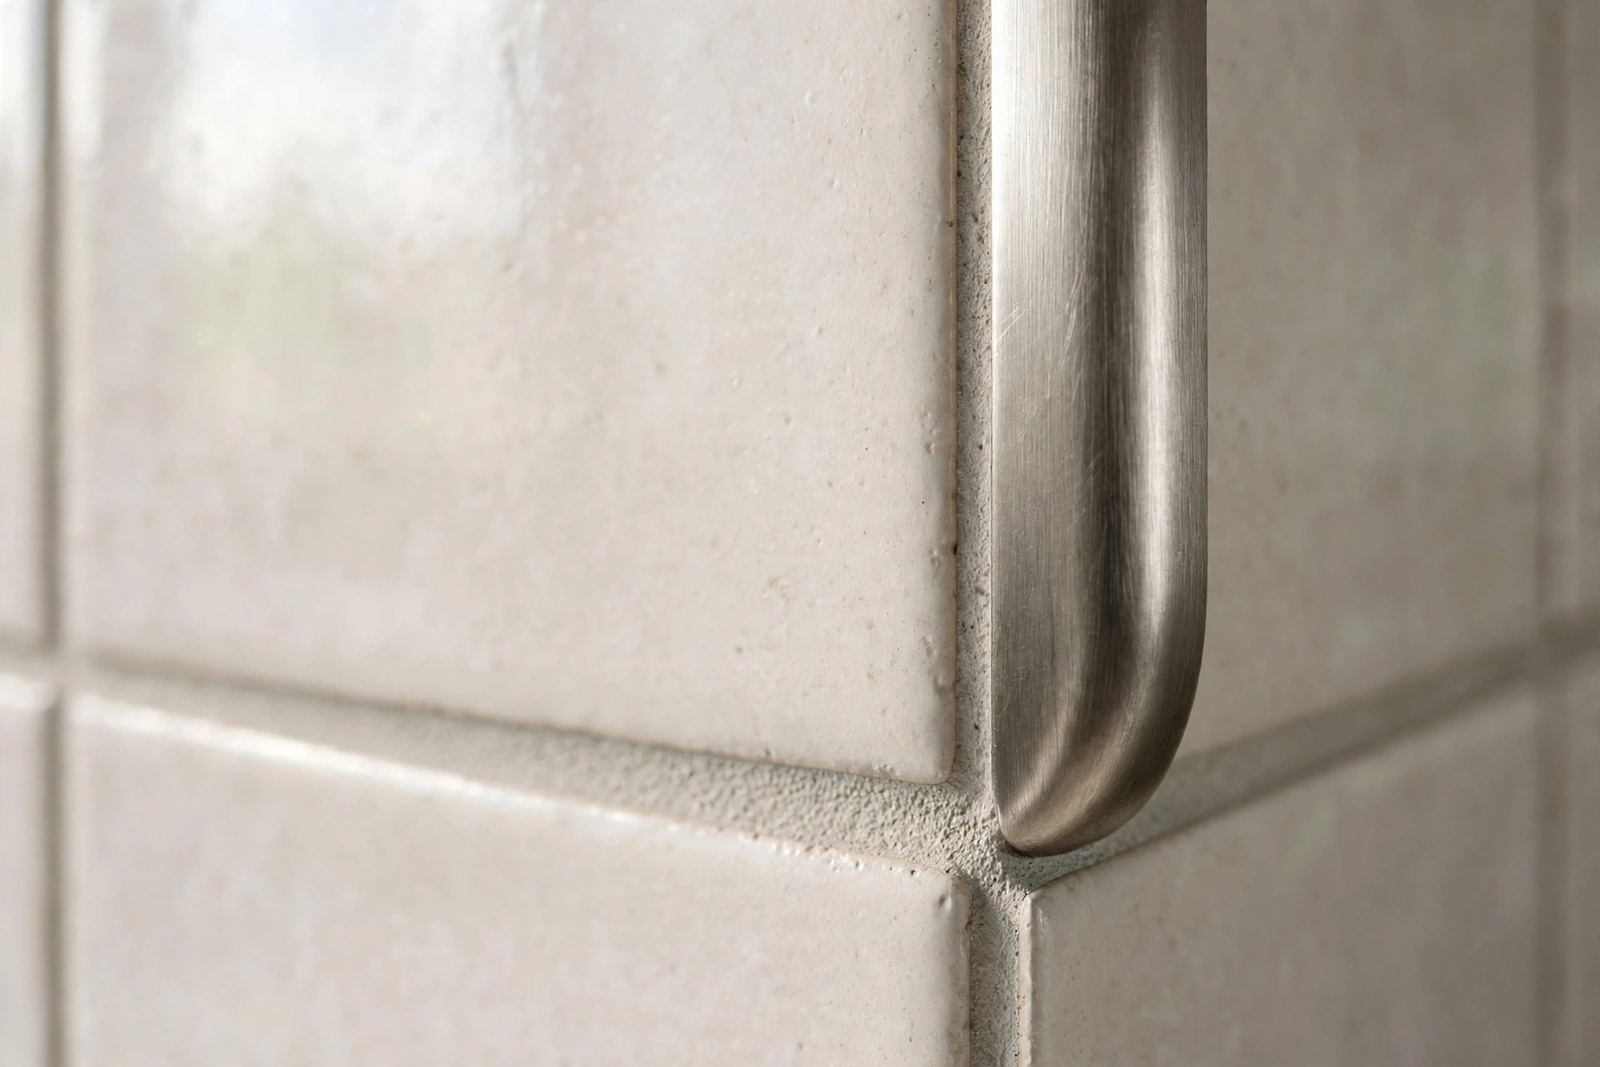
The trim that finishes a tile edge is chosen by the tile, not by the trim catalogue. Three tile properties drive the choice. Thickness comes first, then how the edge behaves under cuts and knocks, then whether the surface needs protection while grout is still wet. This guide works through those questions tile type by tile type.
One rule sits underneath every section. Trim height follows the finished build-up: the tile thickness plus the adhesive bed beneath it. A trim that ends below the tile face leaves the edge exposed to chipping. One that stands proud catches feet, mops and trolley wheels. Our tile trim size guide covers the measuring itself. This page covers how the tile type changes the answer.
The Short Version: Trim by Tile Type
The table below is the whole guide in one screen. Thickness figures are the typical ranges tiles are sold in, not a substitute for measuring your own tile. Suggested heights assume a standard adhesive bed and follow the size rule above. NIUYUAN’s standard height ladder runs 6, 8, 10 and 12 mm across its metal ranges.
| Tile type | Typical thickness | Suggested trim height | Profile shape | Watch out for |
|---|---|---|---|---|
| Glazed ceramic (wall) | 6–8 mm | 8–10 mm | L-shape or square-edge | Soft glazed edges chip; never size off a cushion edge |
| Ceramic floor tile | 8–10 mm | 10–12 mm | L-shape or round-edge | Thicker floor bed adds build-up beyond the tile itself |
| Porcelain | 8–12 mm | 10–12 mm | Square-edge or L-shape | Rectified edges are sharp and exact; thin panels break the rule |
| Subway / metro (bevelled) | 8 mm at centre, about 5–6 mm at the bevel | 10 mm | Square-edge or L-shape | Size to the thickest point, never to the bevelled edge |
| Marble & travertine | From about 10 mm; stone mosaic sheets often 10 mm | 10–12 mm | Round-edge or L-shape | Seal before grouting; thickness varies piece to piece |
| Mosaic (mesh-mounted) | 4–6 mm for ceramic and glass sheets; stone sheets thicker | 6–8 mm, matched to the set sheet | Low L-shape | Judge by the sheet as set, not the single chip |
| Glass tile | Varies by maker — measure the actual tile | Match measured build-up | L-shape or square-edge | Cut edges are sharp and chip-prone; cover or smooth them |
Two habits prevent most sizing errors. Measure the tile at its thickest point, with a real tile in hand, not from the box label. Then dry-fit one length of trim against a bedded tile before the full run is fixed. Both habits take minutes, and both are cheaper than reordering a container of the wrong height.
Glazed Ceramic Wall Tile
Glazed ceramic is the tile this cluster of searches is mostly about. Wall formats are typically 6 to 8 mm thick, with a soft clay body under a hard glassy surface. The glaze is the weak point: it chips where the edge is struck, and a cut edge shows the pale body underneath.
For height, an 8 or 10 mm trim covers most glazed wall tile once the adhesive bed is counted. The shape choice is forgiving: an L-shaped profile gives a clean straight finish and the widest finish range. A square-edge profile gives the flatter, more modern line. Either protects the glazed edge better than leaving it bare.
The common mistake is sizing from the tile’s cushion edge. Many glazed wall tiles have a soft, rounded edge profile from the mould. That edge measures thinner than the tile body. Size from the body thickness instead, the same way bathroom tile trim runs are planned. Then the trim face sits where the tile face sits.
Ceramic Floor Tile
Ceramic floor tile is thicker than its wall counterpart, typically 8 to 10 mm, and it sits on a deeper adhesive bed. The finished build-up is therefore taller than the tile measurement alone suggests. Trims in the 10 to 12 mm range are the usual landing point.
Shape follows traffic: on a floor edge that feet and wheels cross daily, a round-edge profile sheds knocks better than a square face. In low-traffic rooms the L-shape remains the default. The full shape families, and what each one is for, are set out on the tile trim profiles page.
One floor-specific check matters. Measure the build-up at the actual edge, including any levelling compound or underlayment that runs beneath that tile. Floors are where a trim ends up a millimetre low, because the extra layer was forgotten when the height was chosen.
Porcelain: Denser, Sharper, Less Forgiving
Porcelain is fired harder and denser than glazed ceramic, and standard tiles run about 8 to 12 mm thick. The body is the same colour and hardness all the way through, so edges behave differently. They chip less in service, but they are harder to cut cleanly on site.
Rectified porcelain is the case to plan for. Its edges are ground square after firing, so they are sharp, exact and unforgiving of a trim that sits even slightly low. A square-edge profile matches that precision and is the usual specification. An L-shape works where a softer line is wanted. Heights follow the same rule: measured tile plus bed, which lands at 10 or 12 mm for most porcelain.
Thin porcelain panels are the exception that breaks the table. Panels at 3 to 6 mm are cladding products, not standard tiles, and their edges need a different conversation. If your project uses them, confirm the edge detail with the panel maker before ordering trim. Do not size panel trim from this guide’s standard ranges.
Subway and Metro Tile: The Bevel Problem
Bevelled subway tile is where trim sizing most often goes wrong, because the tile is thickest in the middle and falls away at every edge. One UK retailer’s metro tile is listed at 8 mm thick, with its bevelled edge at roughly 5 to 6 mm. Both numbers describe the same tile.
The rule follows from that geometry. Size the trim to the thickest point of the tile, never to the bevelled edge. A trim chosen for the 5 to 6 mm edge leaves the centre of every tile standing above the metal. In practice, an 8 mm bevelled metro usually lands on a 10 mm trim. At least one tile retailer specifies exactly that pairing in its product data.
Shape is the second decision: a square-edge or box-style profile reads best against the bevel’s shadow lines, and an L-shape is the safe default. On a kitchen backsplash, plan the trim run before the first course is set. Bevelled tiles telegraph every height error along the top edge, where the eye catches it.
Marble and Travertine: Seal First, Then Trim
Natural stone changes the order of operations: marble and travertine are porous, and travertine is full of natural pits and voids. Stone suppliers are consistent on one point: seal the stone before grouting. The sealer stops grout pigment and moisture soaking into the face while the joints are filled.
Stone thickness also varies in a way ceramic does not: tiles start at about 10 mm, and piece-to-piece variation is normal, even within one box. Stone mosaic sheets are commonly 3/8 inch, about 10 mm, before the mesh and adhesive are counted. Choose the trim height against the thickest pieces in the batch, not the nominal size on the order.
For shape, a round-edge profile is the conservative choice on exposed stone edges. Stone edges chip under point impacts, and the curve deflects knocks that would take a corner off a square face. Cut stone edges should be eased and cleaned before the trim goes on. A wet saw gives the cleanest cut and the lowest chipping risk on stone.
Mosaic: Judge the Sheet, Not the Chip
Mosaic arrives as a sheet, and it must be sized as a sheet. Ceramic and glass mosaic sheets are typically 4 to 6 mm thick at the chip. Stone mosaic sheets are thicker, often around 10 mm. The mesh backing and the adhesive bed then add their own build-up on top.
That is why mosaic trim heights surprise people: a 6 mm chip does not automatically take a 6 mm trim. Once the sheet is bedded, the finished surface can sit closer to 8 mm. A low L-shape profile, matched to a test-bedded sheet, is the reliable route. Dry-bed one sheet at the edge before choosing.
Mosaic edges also vary along a run, because individual chips are small and hand-set sheets are never perfectly flat. A trim with a clean, continuous face hides that variation. It is one reason mosaic fields in showers and niches are usually framed with a profile rather than left to a grout line.
Glass Tile: Cover the Cut Edge
Glass tile is the most fragile edge in this guide. Glass tile makers are blunt about cutting: most blades made for ceramic tile are too coarse for glass and will chip it. Their guides call for a glass-specific diamond blade, a slow feed, and cutting face down.
The same guides make the trim case. Cutting glass leaves sharp edges and corners, which then have to be smoothed with a diamond hand pad. A metal trim does that job permanently at exposed edges. It covers the cut line, protects the coloured backing layer, and gives the run a straight finish that hand-smoothing cannot match.
For height, glass formats vary too much between makers for a table figure. Measure the actual tile, add the bed, and match the trim to the result. Keep the profile face smooth and simple: L-shape or square-edge. Ornate profiles fight the clean look most glass installations are chosen for.
Before You Order: A Five-Point Check
Every section above reduces to the same short routine. Run through it once per tile type, not once per project, because mixed projects are where heights get crossed.
- Measure the real tile. Use a tile from the actual batch, at its thickest point.
- Add the bed. Trim height follows tile plus adhesive, never the tile alone.
- Check the edge behaviour. Bevels, glazes and stone all punish a trim that sits low.
- Pick the shape for the job. The profiles guide maps each shape to its position and use.
- Dry-fit one length. One bedded tile and one trim length confirm the whole run.
Distributors stocking across several tile types can hold the range rationally. The 6 to 12 mm ladder in L-shape and square-edge covers most of the table. The square-edge range and the wider tile trim guide show how the families sit together. Heights outside the ladder, and thin-panel work, should be confirmed tile by tile before they are quoted.
FAQ
What size trim do I need for 8 mm ceramic tile? Start from the finished build-up, not the tile alone. An 8 mm tile on a standard adhesive bed usually lands on a 10 mm trim. Measure the bedded tile at the edge and dry-fit one length before committing. The size guide linked above walks through the measurement step by step.
Do bevelled metro tiles need a bigger trim? Yes, effectively. A bevelled metro is thickest at its centre and thinner at every edge, so the trim must cover the thickest point. An 8 mm bevelled metro typically pairs with a 10 mm trim. Sizing to the bevelled edge leaves the tile centre standing proud of the metal.
Can one trim serve both ceramic and porcelain tiles? Yes, when the heights match. The profile does not know what the tile is made of. Match the trim height to each tile’s measured build-up, and choose the material and finish for the room. Wet and coastal areas push the material choice, not the shape.
Does natural stone need sealing if a trim covers the edge? Yes. The trim protects the edge line only. The stone face and the cut edges still need sealing before grouting, because marble and travertine are porous and take up grout pigment and moisture. Sealing is part of the stone installation, with or without trim.
What trim works for mosaic sheets? A low L-shape profile, sized to the sheet as it will actually be set. Mesh backing and adhesive add build-up beyond the chip thickness, so a 4 to 6 mm chip can need a taller trim than expected. Bed one test sheet at the edge and measure the finished surface before ordering.


