
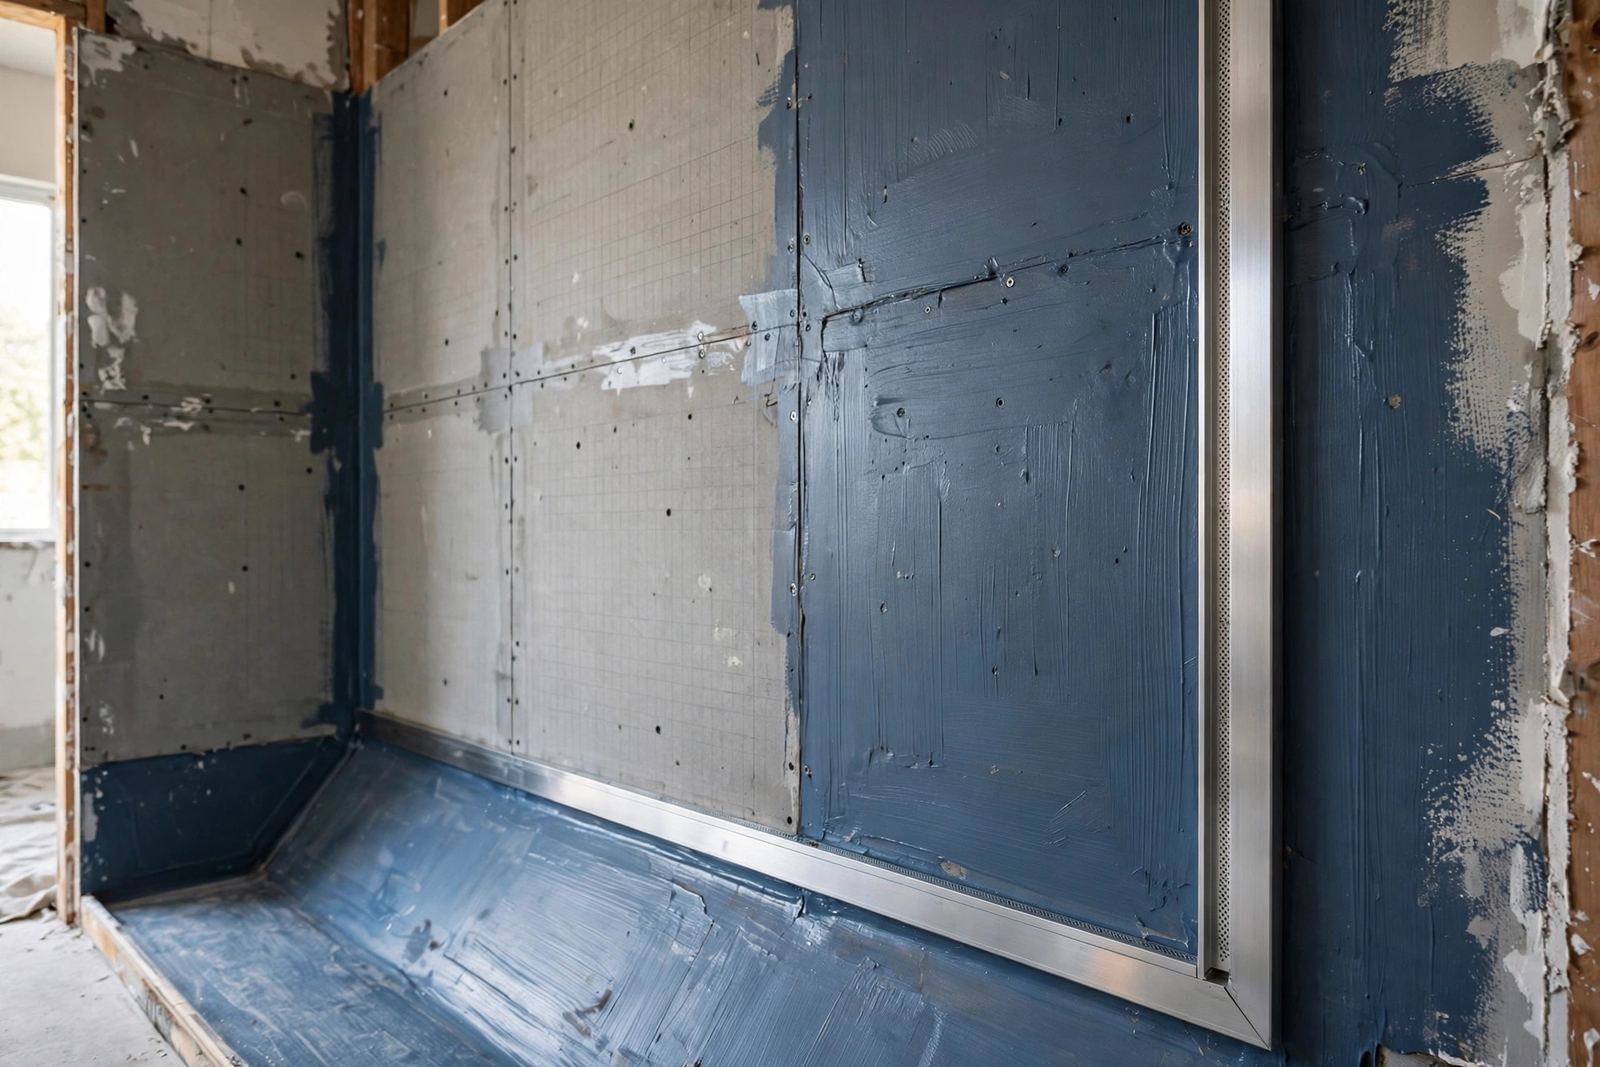
Tile Trim for Backer Board Edges: Choice and Fixing Notes
An exposed backer board edge should never be left bare, because its cut face chips, snags cloths, and admits water. A metal edge trim covers that raw face, shields the tile edge beside it, and leaves one clean straight line. This short guide covers only that edge joint.
Backer board is a tile substrate, not a finished surface, and its face is made to receive tile and adhesive. Its cut edge, by contrast, stays rough and porous, so any stopping point left open stays visible. Trim turns that stopping point into a planned finish.
Why the Edge Needs a Trim
A bare board edge fails in three quiet ways. The cement face crumbles under bumps from feet, mops, and cleaners, while grout alone cannot bridge a sharp edge. The joint then cracks and sheds, and the unfinished edge draws the eye even when nearby tiling is neat.
Three Edge Cases, Three Different Answers
| Edge case | What you see | Trim answer |
|---|---|---|
| Free wall end | Board and tile edges exposed | Rounded or square cap profile |
| Tile meets drywall | Two substrates, uneven levels | Edge profile sets the tile line |
| Wet zone edge | Shower or tub boundary | Metal profile plus flexible seal |
Do not treat these three cases as one job, since each edge asks for a different finish. A free end needs a cap that looks finished from the side, while a drywall junction needs a straight line. A wet zone needs that straight line plus a flexible seal.
How to Choose the Trim Height
Trim height follows the tile, not the board, so start by measuring the actual tile thickness. Add the adhesive bed under the tile, then choose a profile height equal to that total or one size up. For example, a 10 mm tile on a 2 mm bed suits a 12.5 mm profile, as our tile trim size guide explains.
The trim should sit flush with the tile face, or up to about 1 mm below it. A profile that stands proud catches feet and cloths, while one set far below leaves a dirt-trapping step. Board thickness still matters for planning, with 6 mm common on floors and 12 mm common on walls, but neither number sets trim height.
Fixing Notes at the Edge Joint
Fix the trim while tiling, not after the tile has set, because its leg must sit in fresh adhesive. Press the perforated leg fully into the adhesive bed, align the visible edge straight, and cover the leg. Then set the last tile tight against the profile, keeping a normal grout joint between tile and trim.
- Brush loose crumbs off the board edge.
- Dry-fit and cut the trim length clean first.
- Keep the trim line straight throughout.
- Leave the designed grout joint.
- Wipe adhesive off the trim face at once.
Wet Zone Cautions
Wet zones punish a sealed-looking but unsealed edge, so never trust the trim alone for waterproofing. A metal trim caps the edge well, but the board joint behind it still needs waterproofing treatment. Follow the board maker’s system there, and treat trim as the visible finish over that system.
Where tile meets a different material in a wet zone, finish with flexible sealant rather than rigid grout. Grout cracks as boards and walls move at different rates, and any crack in that joint admits water. A flexible joint absorbs that small movement, can be replaced later, and should be checked each year.
Before You Tile Checklist
- Stopping point marked, trim line planned.
- Tile thickness plus adhesive bed measured.
- Board edge sound, loose material cleared.
- Wet zone joint waterproofed behind trim.
If any checklist answer is no, fix that point before tiling starts. Trim cannot rescue a crumbling board edge, nor a wet joint that was never sealed. For cutting lengths, see our guide to cutting metal tile trim. For a damaged edge, see our guide to replacing damaged tile trim.
Frequently Asked Questions
Does every backer board edge need a trim?
No, since an edge hidden inside a corner, under a fixture, or behind a panel needs no visible trim. Any edge that stays visible, takes bumps, or meets another material should be capped. When in doubt, cap it, since an exposed board edge never improves with age or use.
Should trim height match the backer board thickness?
No, since trim height matches tile thickness plus the adhesive bed under the tile. Board thickness guides substrate choice instead, with 6 mm common on floors and 12 mm common on walls. Measure the tile itself, add the adhesive bed, and step up to the next profile size if needed.
Can trim be added after tiling is finished?
Surface trims exist, but they cannot match a profile set during tiling. A profile fixed during tiling has its leg locked under the tile, which keeps it straight and strong. If tiling is done, choose a surface angle made for retrofitting, and accept a wider visible face.
Does trim waterproof a shower edge?
No, since trim gives a clean, protected finish, while waterproofing comes from the board system behind it. Joints, fasteners, and exposed board edges need their own treatment under the maker’s system. Finish the tile-to-material joint with flexible sealant, and inspect that seal line each year.


