
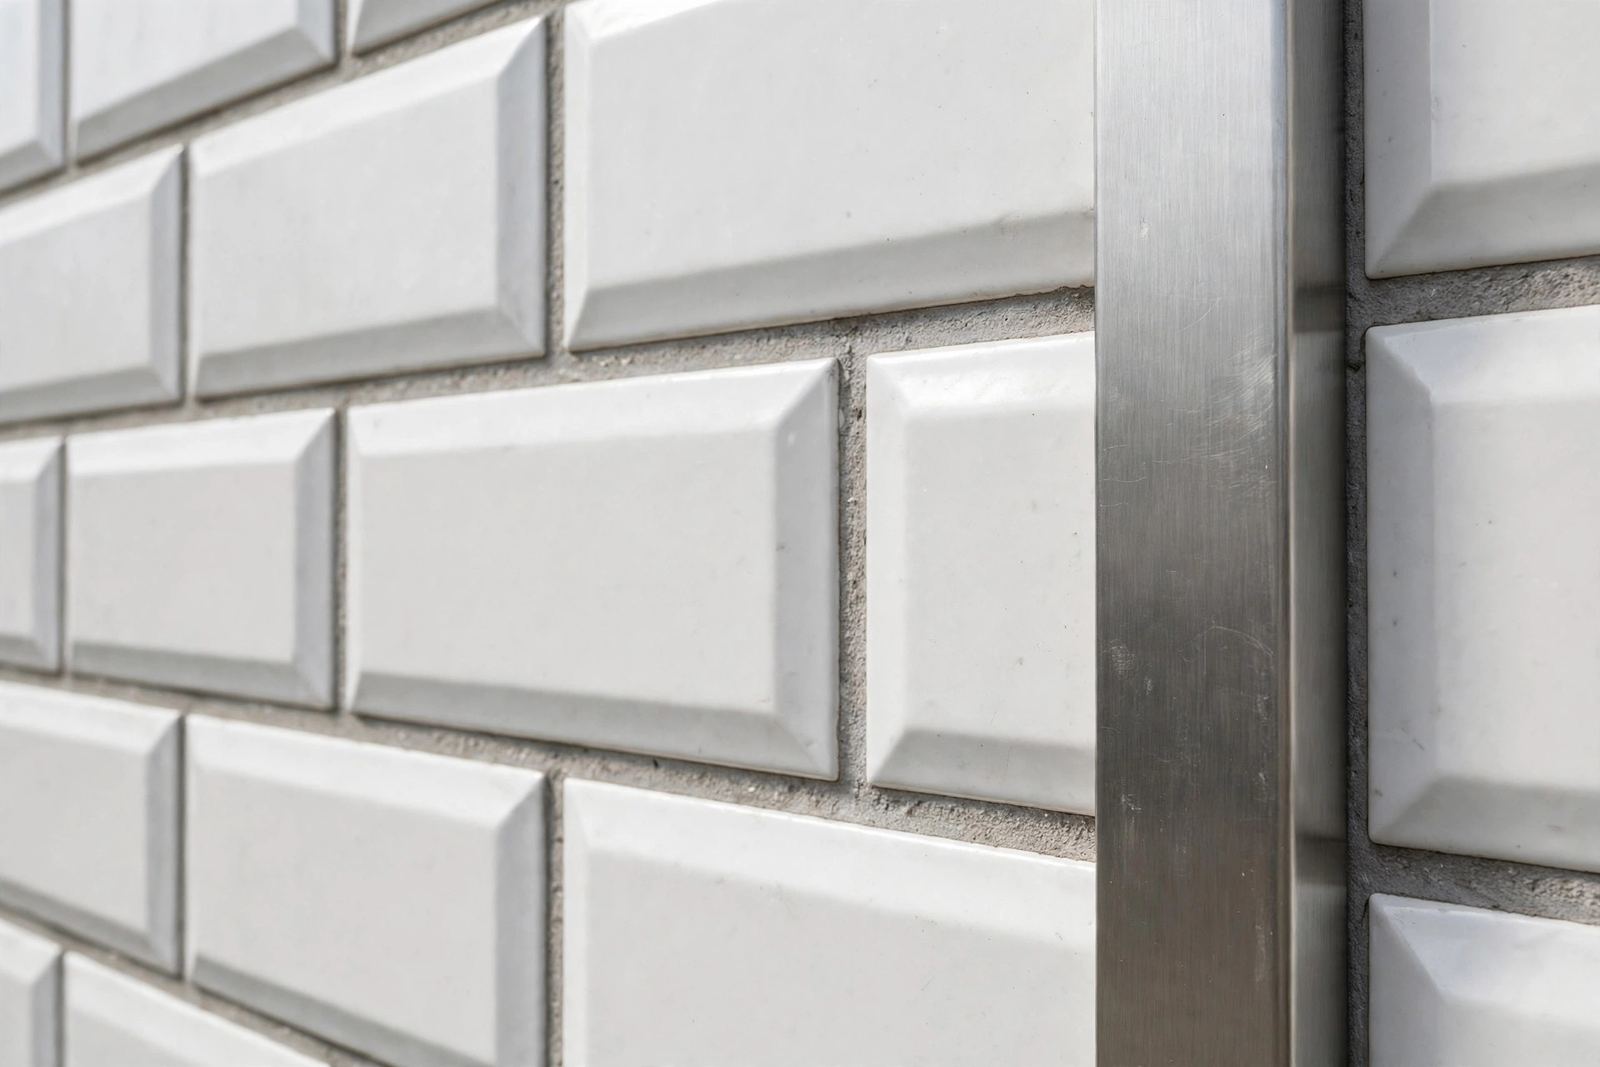
For bevelled metro tiles, choose a flat-face L trim, also called a square-edge trim. Its flat face meets the bevelled edge along one clean line, so the trim sits flush with the field. A rounded profile touches the bevel at a single high point instead, and that narrow contact lets the trim rock and leaves a visible lip.
A bevelled metro tile is not flat across its full face, because the centre field sits lower and the bevel rises toward each edge. That raised edge is the part the trim must meet at every edge.
Why a bevel changes the fit
On a flat tile, the trim face and the tile edge share one plane, and both surfaces meet evenly, so the fit is simple. On a bevelled tile, the edge stands proud of the field, so the trim must meet the highest part of the tile, not its centre.
If the trim meets only the lower body, the bevel overhangs the trim face and leaves a lip you can feel with a fingertip. A curved trim face also rests on the bevel crest at one point only. Pressure on either side then tips the trim slightly, and grout will show that movement.
Choose a flat face, not a round nose
For bevelled edges, the practical choice is a square-edge L profile with a flat exposed face. The flat face gives the bevel a straight surface to sit against, so the grout joint stays readable in one straight line.
| Trim face | Against a bevel | Result |
|---|---|---|
| Flat-face L | Line contact | Sits flush |
| Rounded | Point contact | May rock, leaves a lip |
Material choice does not fix a wrong face shape, since aluminium, stainless steel, and brass all come in flat-face L profiles. Pick the material for the room and the finish, then check the face shape first.
Pick the height by measuring, not by the label
Do not size the trim from the nominal box thickness. Tiles vary, and the bevel counts toward the finished height. Measure the actual tile at several points along the edge, and use the largest honest reading as your working height.
Then apply the site size guide rule: choose a trim depth equal to the measured tile, or 1 to 2 mm deeper. The extra depth covers adhesive build-up under the tile and stops the trim from sitting buried below the tile face. For the full sizing method, see this guide to matching trim depth to tile thickness.
Dry-fit before you fix anything, by holding the trim against the actual tile and looking along the edge. Check that the bevel meets the trim face without a gap and that the trim does not rock when pressed at each end.
Corners and ends on bevelled edges
Outside corners need the most care on bevelled metro tiles. Two bevels meet at the corner, so a mitred joint must match both bevel angles. Where a mitre looks risky, use a factory corner piece in the same profile. The corner piece keeps both faces aligned, and it avoids a joint that opens after grouting.
At exposed ends, the bevel edge stays visible, so an end cap or mitred return finishes the run. Cut the return from the same profile, and check that the bevel line continues into the return. For the finishing options, see this overview of end caps and mitred returns.
Confirm before you order
Order a sample in the exact profile and finish, and test it against the actual tile. A sample check beats a catalogue drawing when bevels differ. Send the supplier the tile name and a photo of the bevel edge if you can. Ask for one reply confirming profile, depth, and corner piece.
Buyers stocking for resale should add one more check. Confirm that corner pieces and end caps for that profile stay in stock alongside the straight lengths, or installers must improvise at corners. For related tile-type choices, see this ceramic edging guide by tile type, and review the common installation mistakes to avoid before grouting.
Frequently asked questions
Can I use a rounded trim on bevelled metro tiles?
You can fit one, but it rarely sits flat, since the curve touches the bevel at one point and may rock and leave a lip. A flat-face L trim is the safer choice for bevelled edges.
Should the trim match the tile body or the bevel height?
Match the highest edge the trim must cover, bevel included, because a trim sized only to the tile body sits low and leaves a step. Check the bevel edge itself, not the flat field, when you measure.
How deep should the trim be?
Choose a depth equal to the measured tile, or 1 to 2 mm deeper. The extra depth covers adhesive build-up under the tile and stops the trim from sitting buried below the finished tile face.
Do I need a sample before ordering in bulk?
Yes, test the exact profile against the actual tile first, because bevels differ between tile ranges and a sample check catches a rocking fit. That check costs little and prevents a full order that rocks.
Decision
Order a flat-face L trim in the depth your measured tile calls for, with matching corner pieces and end caps. Dry-fit it against the actual tile, check the bevel line and the grout joint, and only then release the bulk quantity.


