
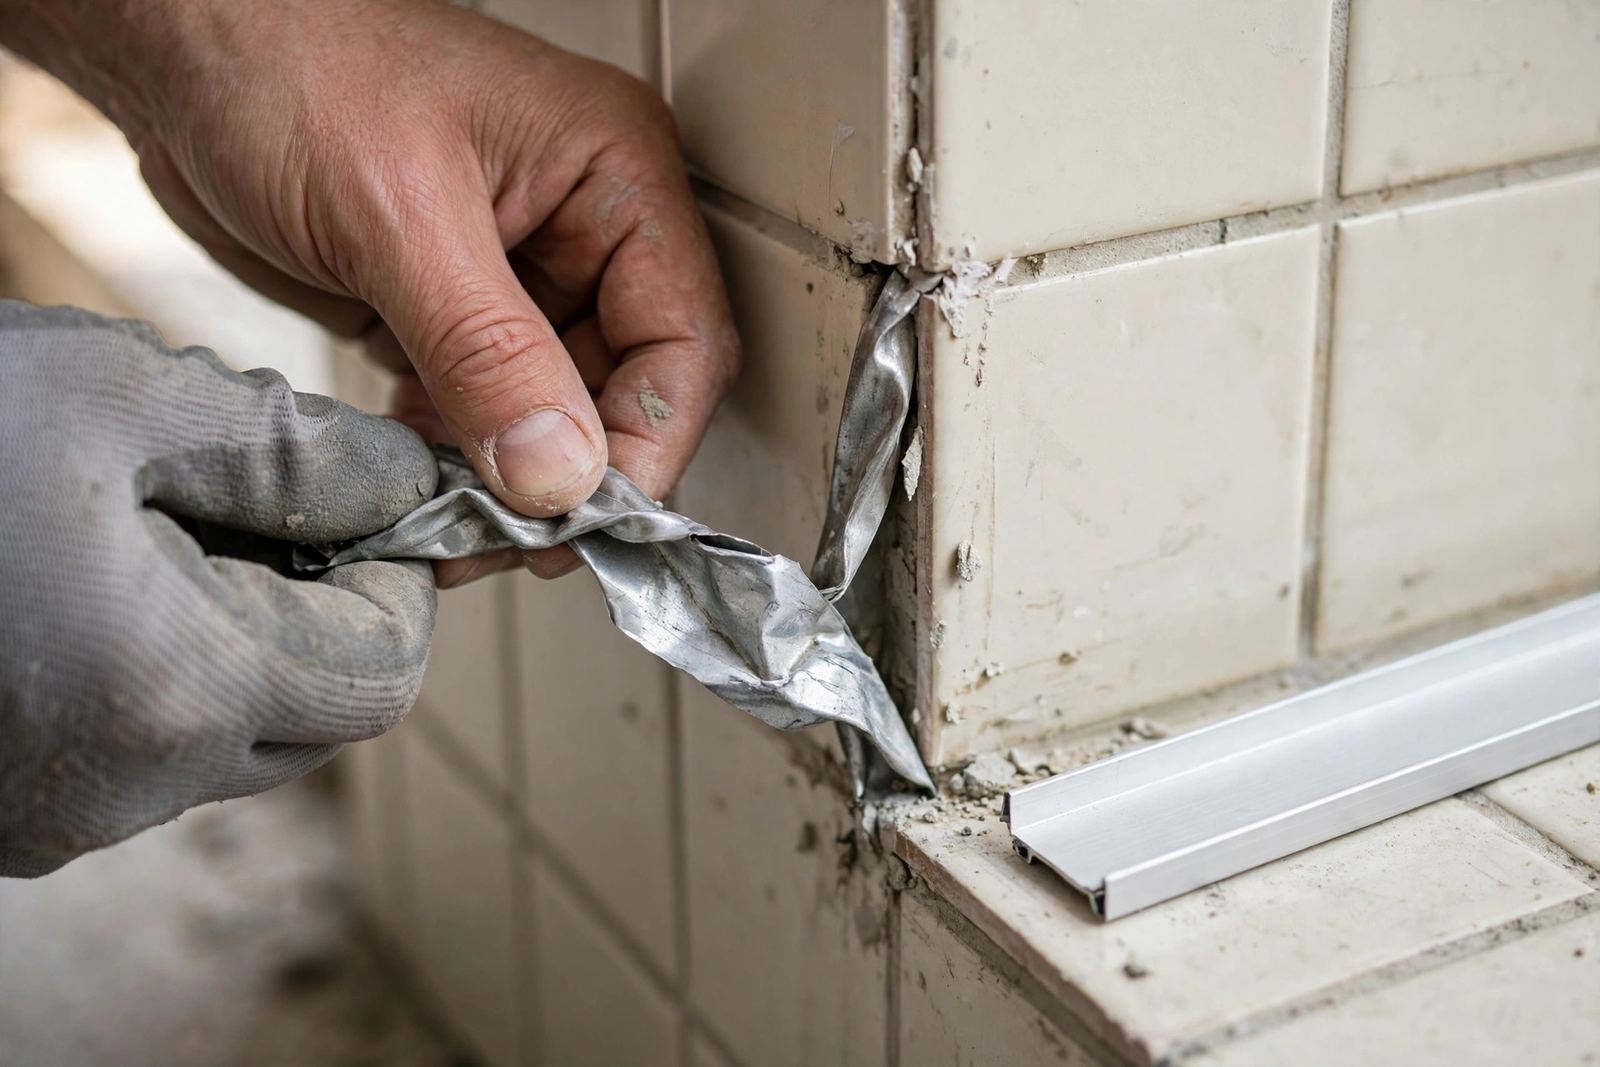
Yes, you can replace a damaged section of tile trim without removing the surrounding tiles. The key is to cut the grout free first, then free the trim slowly instead of prying against a locked tile edge. That single mistake causes most chips, so work in small steps and replace only the damaged length when the rest stays sound.
Can You Replace Just One Section?
In many cases, a short dent, a chipped corner, or a stained length near a door can be cut out on its own. The rest of the run can stay when it is straight, firmly fixed, and still in good shape overall. The new piece must match the old profile, height, and finish, since a close match matters more than a perfect brand match.
Replace the full length when the damage runs further than it first appears to the eye. A bent metal strip often stays bent beyond the visible dent, and cracked plastic may be brittle along the whole run. Full replacement also makes sense when the finish has faded unevenly, since a new section beside a faded run will stand out.
| Damage you see | What it means | Best repair |
|---|---|---|
| Small dent or scuff | Surface damage only | Replace that section |
| Cracked or split length | Strip has lost strength | Cut out and renew it |
| Bent or lifted run | Fixing or shape failed | Replace the full length |
| Loose trim, sound tiles | Bond has failed | Clean bed and refix |
| Loose tiles beside trim | Bed may have failed | Check tiling first |
If the trim is only scuffed, painting may be simpler than cutting it out altogether. Our guide to painting tile trim explains when paint holds well and when it fails quickly. If you plan to leave the edge bare instead, read about finishing tile edges without trim before you remove anything.
Step 1: Cut the Grout Free
Start by removing grout along both sides of the damaged section with a manual grout saw or an oscillating tool. Work in short strokes, keep the blade inside the joint, and never let it ride up onto the tile face. Clear grout a little beyond each end of the planned cut, so the trim can come out cleanly.
Vacuum dust from the joint as you work, since dust hides the line between trim and tile. A clear joint also keeps grit from scratching the glaze while you free the trim later. Wear eye protection and gloves from this point on, because even gentle grout work can throw small chips.
| Tool | Use it for | Watch out for |
|---|---|---|
| Manual grout saw | Short runs, careful corner work | Slow on long runs |
| Oscillating tool, grout blade | Faster work on straight runs | A slip can chip tile |
| Utility knife | Cutting sealant, soft adhesive | Blades dull and wander |
| Stiff scraper | Clearing old adhesive | Never lever on tile edges |
Step 2: Free and Lift the Trim
Once the grout is out, find how the trim is held before you lift anything at all. Some trims sit in adhesive under the tile edge, while others are fixed with sealant or adhesive along the back. Cut sealant with a sharp utility knife, and cut bedded metal trim beside the strip with an oscillating tool.
Lift the trim a little at a time, working from one end steadily toward the other. Use a stiff putty knife flat against the bed, never as a lever pressing on a tile edge. If one spot resists, stop and cut more adhesive there, since forcing it drives stress straight into the nearest tile.
Expect the old trim to be unusable after removal, so plan to fit a new piece rather than reuse it. Test a hidden spot first when you are unsure, such as a short length behind a door. That test shows how firmly the trim is bedded.
Note the limits of this method, since tilers report that a fully bedded metal trim can be very hard to free. In some cases the top row of tiles must come out with the trim. If the trim still will not move after careful cutting, do not force it.
Choose the Right Replacement Height and Fixing
Measure the tile thickness and the old trim height before you buy any replacement piece. A trim that stands proud of the tile face will catch feet, mops, and cleaning tools. A trim set too low leaves a sharp tile edge exposed, so height accuracy matters at both ends.
Manufacturer guidance for edge profiles states one clear rule for the finished height of the trim. The tiled surface should sit flush with the profile top, or up to about 1 mm lower than it. The profile itself should never stand higher than the surrounding tile surface at any point.
Our tile trim size guide walks through height selection in greater detail for common tile thicknesses. Match the profile shape as well as the height, since an L-shaped trim, a square edge, and a round edge all sit differently. A mismatched shape leaves a gap or a lip even at the right height, so bring an offcut of the old trim when you shop.
Fix the new piece the way its location demands, since a short repair and a floor edge face different loads. A retrofit trim fixed with adhesive and sealant suits a short repair, and our guide to fitting trim after tiling covers that method. For a full-length replacement, our tile trim installation guide covers the standard bedded method in full.
Plan joints and corners before you fix anything, since a poor corner joint draws the eye at once. Compare mitred corners and corner pieces before you cut, so the new corner matches the old run. If the run uses connectors or end caps, check our trim accessories guide so the new ends match the old ones.
Grout, Seal, and Finish
Clean the bed fully before you fix the new trim, scraping off old adhesive and loose grout. Vacuum the joint again so the new adhesive bonds to a sound surface rather than dust. Dry-fit the new piece first, checking it along its full length for rocking or a proud edge.
Fix the trim, then press grout fully into each joint beside it with a grout float. Wipe excess grout off with a damp sponge before it hardens on the tile face. Do not flood the joint with water while cleaning, since too much water weakens fresh grout and leaves a patchy finish.
Seal the junction where trim meets a bath, sink, or shower tray with flexible sealant instead of rigid grout. Rigid grout cracks where two surfaces move at different rates, while sealant absorbs that small movement. Check the repair after first use, since a hairline crack at this stage is still easy to reseal.
When to Call a Professional
Call a tiler when tiles move, sound hollow, or crack while you work on the trim. Those signs point to a failed bed rather than a damaged trim alone, so further DIY work may worsen the problem. Call for help also when trim runs under a bath, a shower tray, or a fixed unit with hidden plumbing.
Stop as well if the trim will not free after careful cutting, since a professional can judge whether the top row must come out. They can also match tiles if one breaks during the work, which saves a long run of further breakage. Keep the old offcut and photos of the damage for the tiler.
Frequently Asked Questions
Can I replace tile trim without removing tiles?
Often, yes, when you cut the grout free first and lift the trim in small, careful steps. Success still depends on how deep the trim leg runs under the tiles, since a fully bedded metal trim may need tile removal.
Should the new trim match the old height exactly?
Yes, in most repairs, since the new piece should match the old profile shape and height closely. The finished trim top should sit flush with the tile surface, or up to about 1 mm lower than it.
Can I reuse the old trim after removal?
Plan not to reuse it, since removal usually bends the strip and leaves old adhesive clinging to its leg. A new piece gives a straighter edge and a cleaner joint, which matters most on a visible run.
What if the tiles crack during removal?
Stop work at once and protect the area from water so the damage cannot spread further. A single cracked tile can often be replaced alone, but several cracked or loose tiles call for a tiler to check the bed.
Can I just grout over a damaged trim edge?
Grout can hide a small gap, but it cannot restore strength to a cracked or split trim strip. A cracked trim keeps moving and cracks the grout again, so replacing the damaged section gives a lasting repair.


