
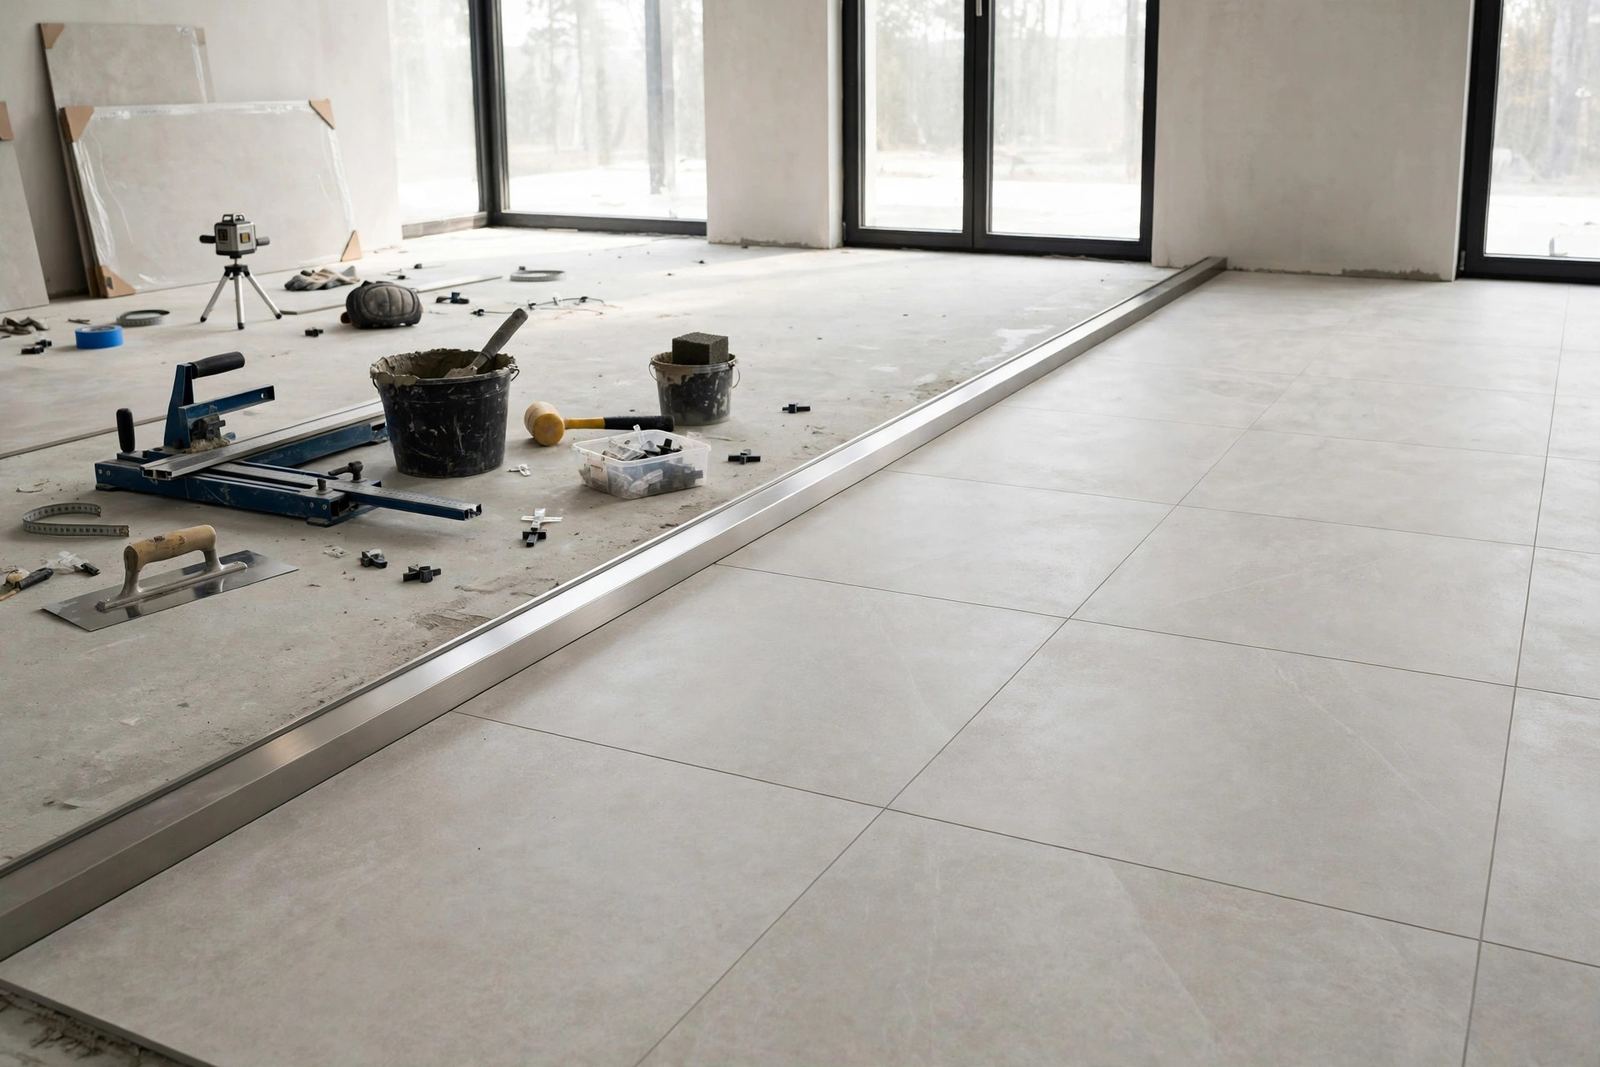
For large format tile, trim height is decided by the finished assembly, not by the tile label alone. Measure the real tile, allow for the adhesive bed, and test fit a short length before you order. A profile that finishes flush with the tile, or just below it, will look clean and will not catch feet, cloths, or cleaning tools.
What counts as large format, and why trim behaves differently here
The Tile Council of North America defines large format tile as any tile with at least one edge of 15 inches or longer. That covers common sizes such as 600 by 1200 mm, 800 by 800 mm, and long planks. A product of 1 square metre or more is classed separately as a gauged porcelain panel or slab under ANSI A137.3. Buyers should not treat a wall panel and a floor tile as the same ordering problem.
Large tiles change trim selection in three ways. First, the adhesive bed is often thicker, because a medium bed mortar is used to support a large tile and to absorb small substrate variation. Second, fewer grout lines mean each trim line is more visible, so a small height error stands out across a whole wall. Third, long runs need more care in transport and handling, because a long profile can bend or mark if it is carried without support.
Flatness is the other condition buyers must check before they blame the trim. Large tiles need a flat substrate. For tiles with one edge of 15 inches or longer, the ANSI tolerance is no more than 1/8 inch in 10 feet. It is also no more than 1/16 inch in 2 feet. If the floor is out of tolerance, no trim height will fix the lippage. Confirm substrate flatness in the specification, then select the trim.
How to select trim height for a large tile
Start from a sample of the actual tile, not from a catalogue thickness range. Tile thickness varies by batch and by product line, and a nominal 10 mm tile can measure differently on site. Place the tile on its adhesive bed, or on a realistic mock up of that bed, and set the trim beside it. The finished trim face should sit flush with the tile face, or a fraction below it.
When the tile plus adhesive sits higher than the nearest standard profile, go one size up and test again. A trim that sits proud of the tile creates a trip edge on floors and a sharp catch point on walls. A trim that sits far below the tile leaves the tile edge exposed and defeats the purpose of the profile. The test fit is the decision step, and it should be done with the adhesive and membrane that the project will actually use.
Membranes and levelling layers also add height. A waterproof membrane under a shower wall, or a levelling compound under a floor, raises the finished tile surface. Add those layers to the calculation before you confirm the profile height. This is the step most often missed on large format orders, because the tile thickness alone looks like a complete answer.
Height examples by tile type
Use the table below as a starting point only. Every row still needs the test fit described above, because adhesive and membrane build up can move the finished height by a full profile size.
| Tile type | Typical thickness | Trim height approach |
|---|---|---|
| Standard large porcelain, floor or wall | 9–12 mm | Match the finished height with adhesive; test fit, then go one size up if the tile sits proud. |
| Thick porcelain or stone effect tile | 15–20 mm | Confirm deep profile availability before ordering; do not assume a standard range will cover it. |
| Thin gauged porcelain panel | 3.5–6.5 mm | Use a low profile matched to the panel, and protect the thin edge from impact during handling. |
| Long plank tile | 8–11 mm | Check height at both ends of the plank, since plank warpage can change the finished level. |
For a full worked method on measuring tile thickness and adhesive allowance, see the tile trim size guide. It covers the same sizing logic for standard tiles, and the test fit step applies with more force to large formats.
Profile and material choice for large slabs and panels
Profile choice is a design decision and a protection decision at the same time. A square edge profile gives a sharp, modern line that suits large slabs and minimal interiors. A round edge profile softens the edge and suits rooms where the edge will be touched often, such as a bathroom wall. An L shaped profile gives the most discreet finish, because only a narrow face shows after installation.
Material choice follows the room, not the tile size. Aluminium suits most dry interiors and is the common choice for standard large porcelain. Stainless steel suits wet rooms, commercial floors, and places where the edge takes frequent impact. Brass suits feature walls and premium interiors where the gold tone is part of the design. For coastal or pool environments, check the material grade first, since the wrong grade will show corrosion long before the tile fails.
Finish consistency matters more on a large job than on a small one. A long wall of large tiles will show a finish variation between batches that a small splashback would hide. Ask the supplier to confirm that all lengths in one order come from one finish batch. Keep one spare length from the same batch for later repairs. A repair length from a different batch can read as a different colour in daylight.
Long lengths, joints, and handling on site
Long profiles reduce the number of joints along a run, and that is a real advantage on a large format wall. Fewer joints mean fewer places where two lengths meet at slightly different heights. At the same time, a long length is harder to carry, store, and cut without bending it. Support the full length during transport, store it flat, and cut it on a stable bench rather than across two trestles with a long overhang.
Plan the joint positions before cutting. A joint in the middle of a long, plain wall will draw the eye. A joint tucked at a corner or behind a fixture will pass unnoticed.
Use connectors made for the same profile where a straight joint is unavoidable, and keep the joint tight and level. For corners, use a purpose made corner piece or a mitred joint. Decide that detail before the tile work starts, not after the first length is cut.
Movement joints still belong in a large floor, and trim does not replace them. Large floors expand and contract, and a rigid trim run across a movement joint will crack grout or push the profile out of line. Keep the movement joint open through the trim line, and use a movement joint profile or a soft joint detail at that position. The spacing rules for floor movement joints are covered in the guide to movement joint spacing for tile floors.
Wall runs and floor runs need different checks
On walls, the main risk is a visible height step across a long, flat surface. Gravity does not pull a wall tile out of level, but a long run of trim will show any small step at eye level. Check the trim line with a straight edge before grouting, and correct a proud length while the adhesive is still workable. Once grout is in, the same correction means cutting out tile.
On floors, the main risks are lippage and impact. A proud trim edge on a floor catches shoes and cleaning equipment, and it takes direct impact from trolleys and furniture feet. A floor trim that sits just below the tile face is safer than one that sits flush but proud in places. Walk the run after fitting and feel for any edge that catches a shoe sole.
Wet floors and wet walls add one more check. A floor trim in a wet room must not trap water at its base. A wall trim in a shower must not hold water behind its face. Confirm drainage and sealant details for those runs in writing, rather than assuming a dry room detail will work in a wet room.
What to confirm before you place a large format trim order
A large format order is hard to correct after delivery, because the lengths are long and the finish must match across the whole job. Confirm these items in writing before the order is placed. First, the exact tile thickness from a sample, plus the adhesive and membrane build up. Second, the profile height that passed the test fit, and the next size up as a fallback. Third, the length options available, and whether long lengths can be shipped without damage in the packaging offered.
Fourth, the corner and end details for every run, including which runs end at a wall, a door, or an open edge. Fifth, the material grade and finish for wet, outdoor, or coastal zones, with the finish batch confirmed for the full order. Sixth, the spare quantity for repairs, agreed as a number of lengths rather than a vague promise of spares. An order that answers those six points is far less likely to stall on site.
If any of those points cannot be confirmed, hold that part of the order and confirm it before cutting starts. A short delay for a sample or a test fit costs far less than a full wall of trim at the wrong height. Buyers who run this check on the first large format job usually keep the same checklist for every later job, because the failure modes repeat.
For material grades in wet and coastal work, see the guide to aluminium trim for coastal projects and the pool and outdoor trim guide. For quantities and waste on long runs, the guide to how much tile trim you need covers measuring runs and allowing for cuts. For the full installation sequence, see the step by step tile trim installation guide.
Frequently asked questions
Do large format tiles need a taller trim than standard tiles?
Not always, but often. The tile may be the same thickness, yet the thicker adhesive bed used for large tiles raises the finished height. Measure the finished assembly and test fit, rather than assuming the standard size will work.
Can I use the same trim height for a thin porcelain panel and a standard tile?
No. A thin panel of 3.5–6.5 mm needs a low profile matched to that thickness, while a standard tile needs a taller profile. Using a tall profile on a thin panel leaves a raised metal edge that catches and looks wrong.
Should trim run across a movement joint in a large floor?
No. Keep the movement joint open through the trim line and use a movement joint detail at that position. A rigid trim run across the joint can crack grout or shift out of line as the floor moves.
How do I avoid visible joints on a long large format wall?
Use the longest length the project can handle safely, plan joint positions at corners or behind fixtures, and use connectors made for the same profile. Confirm one finish batch for the whole order, so joints do not show as colour steps.
What should I check first if the trim sits proud of a large tile?
Check the test fit first: the tile thickness, the adhesive bed, and any membrane or levelling layer. If those are correct, the profile is one size too tall. Replace it with the next size down and test again before tiling further.


