
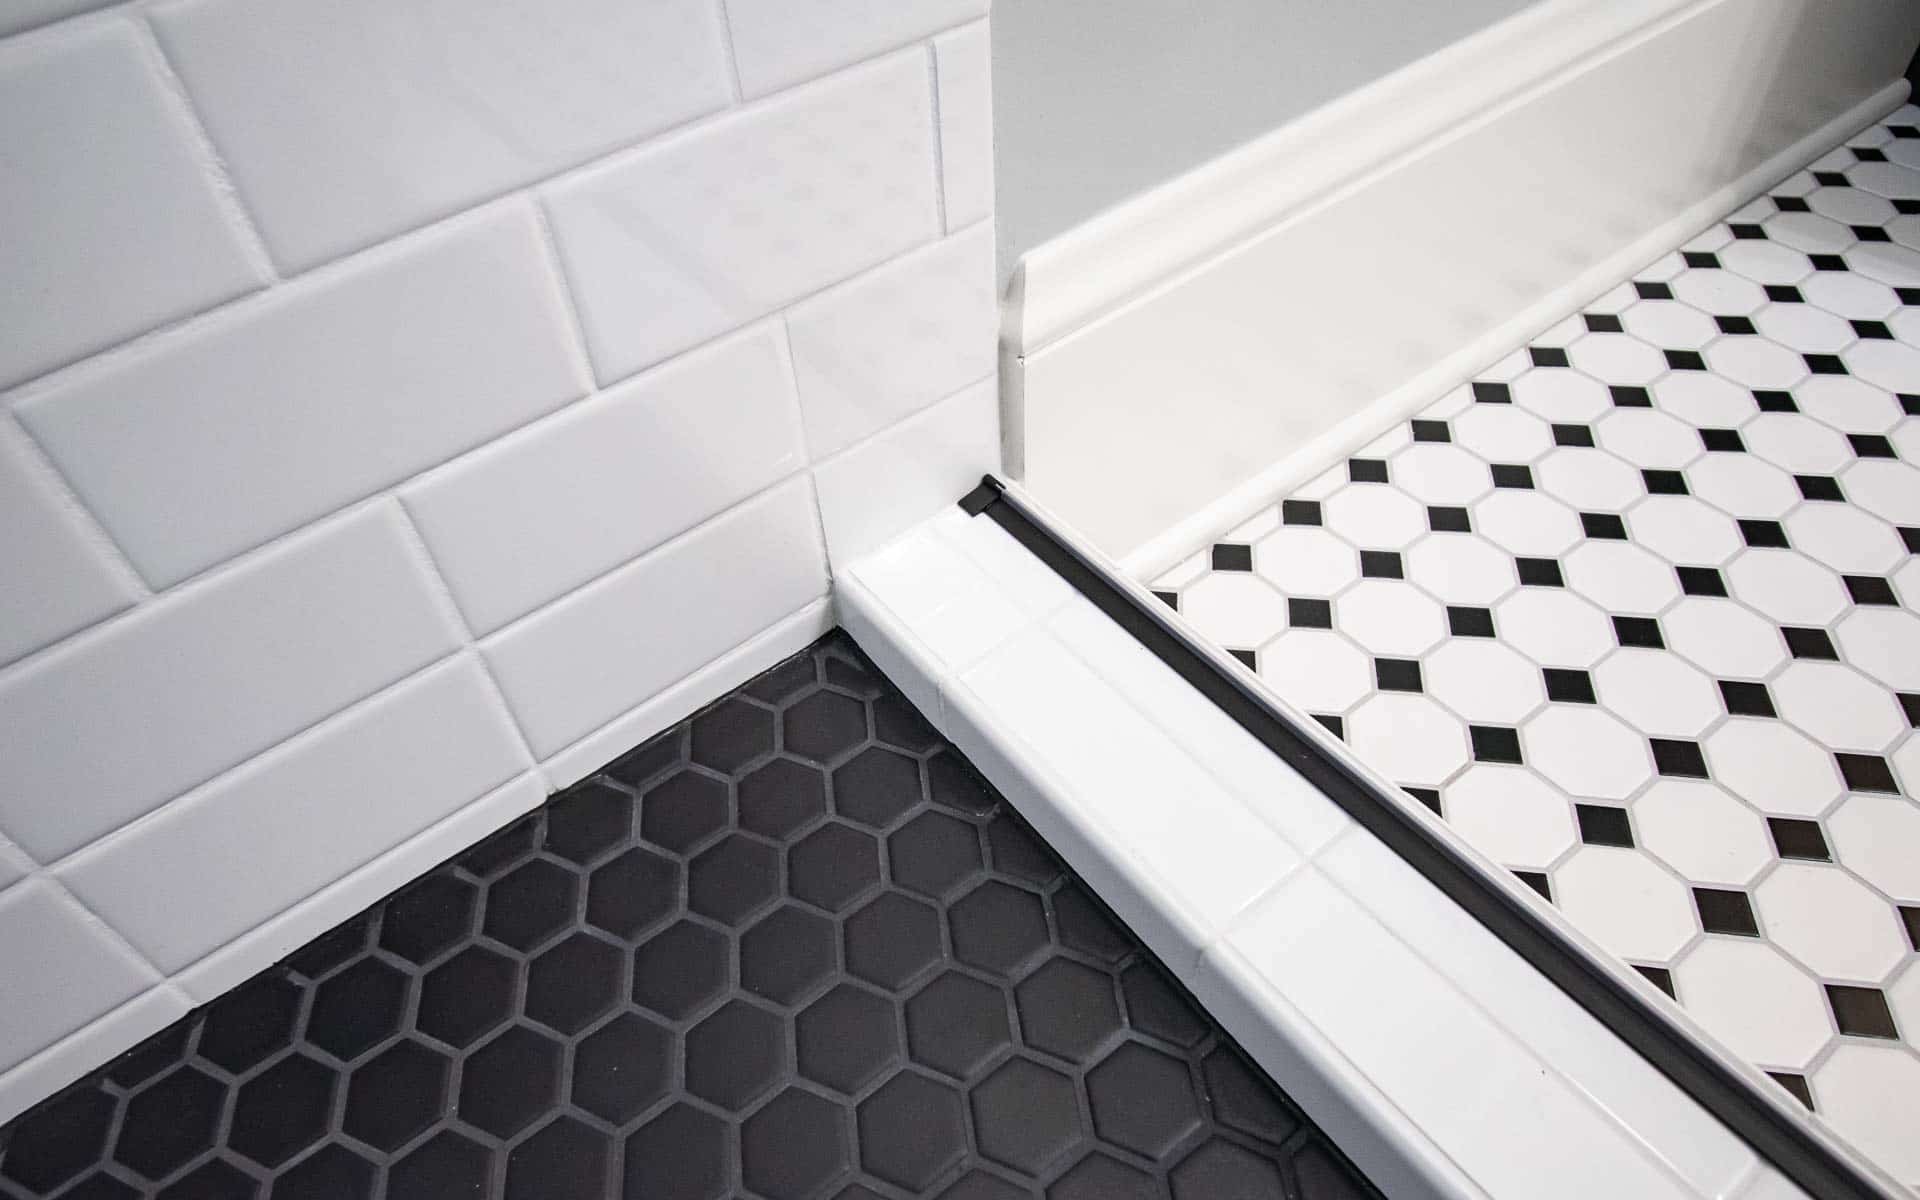
A shower curb takes more abuse than any other tiled edge in a bathroom. Feet step on it, glass doors sit on it, and soap and water pool on it every day. The trim on a curb is not decoration. It decides whether the edge chips, stains, or lets water past the glass line.
The short answer: finish the curb top and the outside corner with a metal profile, round or square, in stainless steel or PVC first. Set the profile height to the tile thickness plus the thinset bed. Slope the curb top inward. Seal the plane changes with flexible sealant, not grout.
This guide covers the four ways to finish a curb top. It also covers the profile and material choice, sizing, and the checks to run before the glass goes in. For the wider shower, see our shower tile trim guide.
What a curb has to do
A curb has three jobs. It holds shower water inside the wet area, gives the glass door or panel a level seat, and survives daily traffic in bare feet. A curb that fails at any of the three shows it fast. Water reaches the bathroom floor, a door will not sit level, or a chipped edge collects soap scum.
Two facts shape every choice that follows. First, tile and grout are not the waterproofing. The membrane under the tile does that job, and it must run unbroken from the shower floor up and over the curb. Second, the trim sits on top of the membrane. It must never be fixed with a fastener that pierces the membrane on the curb top. For the basics of the product itself, see what tile trim is.
Four ways to finish the curb top
| Finish | Cost | Durability | Cleaning | Best for |
|---|---|---|---|---|
| Solid stone cap | Highest | Best, one piece | Fewest joints, easiest | High-end showers, glass doors |
| Metal trim profile | Moderate | Good, protects the edge | Good, one clean line | Most showers, colour-matched hardware |
| Bullnose tile | Low to moderate | Fair, many joints | Joints trap soap scum | Budget jobs, matching tile range |
| Mitered edge | Low material, high skill | Poor, sharp corner chips | Good until it chips | Display showers, low-traffic use |
A solid stone or quartz cap is the strongest finish. One piece spans the curb top, so there are almost no joints to trap soap, and a glass door gets a flat seat. It costs the most, and the stone supplier has to cut the slope correctly, which does not always happen.
A metal profile is the practical middle ground, protecting the tile edge, costing far less than a stone cap, and matching the shower hardware colour. Bullnose tile is cheaper still, but every joint is a place for soap scum, and quality varies. A mitered edge looks sharp on day one and chips first, because the pointed corner is the most fragile part of the curb.
Which profile on a curb
The outside corner of a curb is a high-impact edge. Feet catch it, mops hit it, and children step on it. A round-edge profile softens that corner and sheds water better than a square one. A square-edge profile gives a cleaner modern line, but it shows damage sooner when it is hit.
An L-shaped profile is the usual pick for the curb top and the outside corner in one piece. It covers the tile edge and the vertical face below it, while a square-edge box profile can frame the curb as a feature. It needs a careful fit, because a square reveal shows any unevenness in the tile line.
Talk to the glass installer before tiling. A frameless door needs a flat, level seat, and the curb width has to fit the door track or the clamps. A curb that is too narrow, out of level, or sloped the wrong way will come back as a glass problem. Fixing it then means removing tile.
Material: stainless steel first
For a shower curb, stainless steel or PVC comes first. Stainless steel resists constant water and cleaning, and grade 316 is the pick for coastal bathrooms and pool showers. PVC costs less and never corrodes, which suits budget jobs and rental stock.
Anodized aluminum can work indoors, but strong cleaners dull its finish, so it needs a gentler cleaning routine. Matte or brushed finishes hide water spots better than a mirror polish. Whatever the material, the finish should match the shower hardware, or sit close enough that the eye reads one scheme. Our bath tile trim guide covers the same material logic for tub and wall edges.
Height, slope, and fit
Set the trim height to the tile thickness plus the thinset bed, since a lower profile leaves a sharp tile edge open. A profile that stands above the tile forms a lip that holds water on the curb top. The trim face should sit flush with the tile, or a fraction below it, never above.
Slope the curb top inward, toward the shower, at between 1/8 inch and 1/4 inch per foot. Build the slope into the mortar bed, not into the tile adhesive.
The shower floor itself needs a fall to the drain of at least 1/4 inch per foot, under the tile. That fall keeps water from standing on the curb. Our dimensions and compatibility chart lists the published height ranges by profile. Our guide to size and height selection explains the tile thickness plus adhesive rule in full.
Seal the plane changes
Where the curb meets the wall and the floor, the joint changes plane. Grout cannot flex there, so it cracks, and cracked grout lets water in. Use a flexible sealant at every plane change on a curb, following the TCNA EJ171 rule. The same applies where the curb meets the door frame.
The sealant line is also the maintenance line, so check it when the shower is cleaned. A sealant joint that has pulled away is a five-minute repair if it is caught early, and a leak path if it is not. The common installation mistakes we see most often include grouting a plane change instead of sealing it.
Checks before the glass goes in
Run these checks before the glass installer arrives, because fixing a curb after the glass is fitted means removing tile.
- Curb top slopes inward, toward the shower, with no flat spots that hold water.
- Flood test passed before tiling, with the membrane unbroken over the curb.
- Trim height matches tile thickness plus thinset, face flush or a fraction below the tile.
- Corner pieces, connectors, and end caps on site before tiling starts.
- Glass installer has confirmed the curb width, level, and slope for the door hardware.
- Plane-change joints filled with flexible sealant, not grout.
- Spare trim lengths on site, because replacing a curb profile means removing tile.
A curb is a small area with an outsized failure cost. A round or square stainless profile, set to the right height on a sloped, sealed curb, will outlast the glass door above it. The next step is to confirm the profile and the glass hardware together, before the tile goes on. The matching wall detail is in our shower niche trim guide.
Frequently asked questions
What is the best tile trim for a shower curb?
Stainless steel or PVC, in a round or square profile. Stainless steel resists constant water and cleaning, and grade 316 is the pick for coastal bathrooms and pool showers. A round-edge profile softens the outside corner and sheds water better than a square one.
Should the curb top slope?
Yes, inward, toward the shower, at between 1/8 inch and 1/4 inch per foot. Build the slope into the mortar bed, not into the tile adhesive, so the tile sits on a true fall and water runs back into the shower.
Can I use aluminum trim on a shower curb?
Yes, indoors, with a gentler cleaning routine. Strong cleaners dull anodized aluminum, and the curb takes daily water and soap. Stainless steel or PVC is the safer first choice for a curb, and aluminum suits dry wall edges better.
Why does grout crack where the curb meets the wall?
The joint changes plane there, and grout cannot flex. Use a flexible sealant at every plane change on a curb, following the TCNA EJ171 rule, and check the sealant line when the shower is cleaned.
Can I replace curb trim without removing tile?
No. The anchoring leg sits under the tile, so the tile has to come off to free the profile. Keep spare trim lengths on site, and confirm the profile, height, and glass hardware before tiling starts.


