
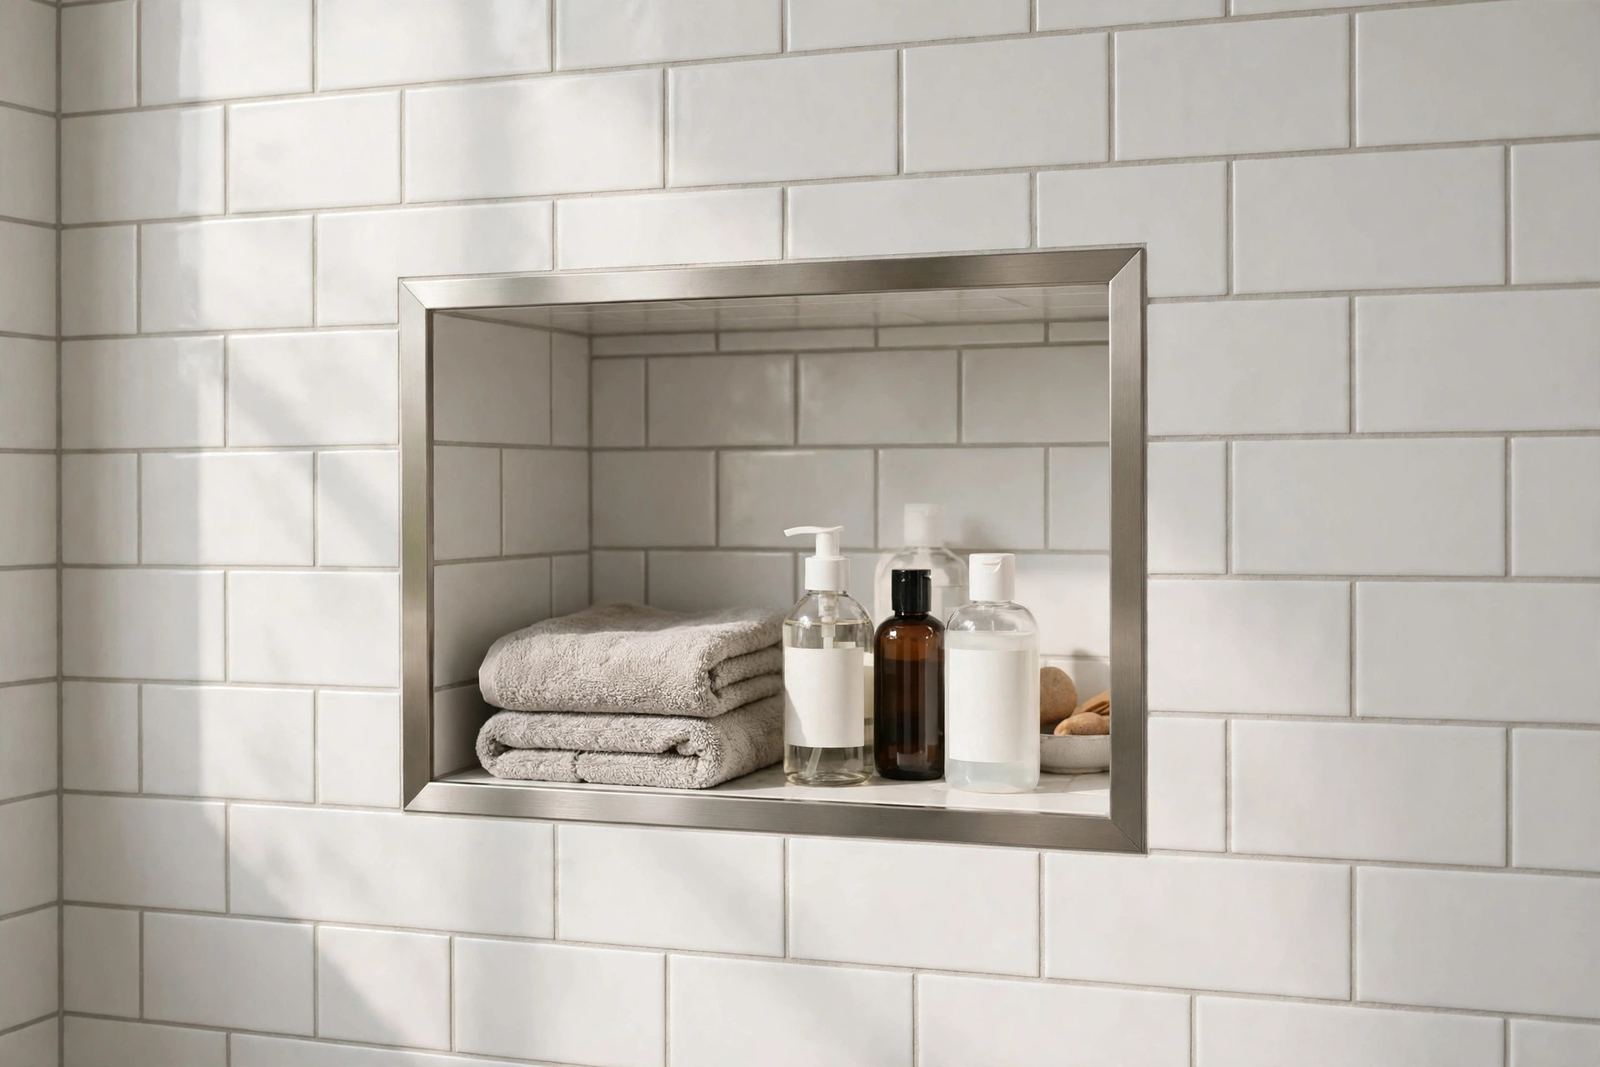
A shower needs trim at every point where tile ends in the open. That includes wall ends, the floor line, the curb top, the glass edge, and the niche opening. Pick the profile by place, not by looks alone, and match the material to constant water contact. Size it to the tile plus the thinset bed, then seal the joints that move and get those four calls right. The shower stays clean, safe, and dry at the edges.
Trim does not waterproof a shower. The membrane behind the tile does that work, and trim protects the tile edge, covers the cut, and gives water a clean path to drain. A buyer who treats trim as the waterproof layer will spec the wrong product, so this guide works zone by zone. It covers wall ends, the floor joint, the curb, the glass edge, and the niche in brief, then ends with a checklist for your supplier.
Where a Shower Actually Needs Trim
Start with a zone map, not a catalog page, because a shower has five trim zones. First comes the wall end, where tile stops and paint starts, and second is the wall to floor joint, where two tiled planes meet. Third is the curb, the raised edge you step over, and fourth is the glass edge, where tile meets a fixed panel or a door. Fifth is the niche, the recessed shelf in the wall.
Each zone sees water in a different way. The wall end sees spray, the floor joint sees standing water, and the curb sees feet, water, and cleaning tools. The glass edge sees daily movement as the door opens and closes. A single profile rarely serves all five zones well, so map the zones on the drawing first and assign one profile to each zone. That map also stops double ordering.
The First Rule: Trim Finishes, the Membrane Waterproofs
Most shower trim failures trace back to one mix-up: people expect the metal edge to keep water out, but it cannot do that job. Water gets past grout and past a thin bead of sealant, but only a continuous membrane behind the tile stops it. The membrane must run up the walls, across the floor, and over the curb, then tie into the drain and the valve.
Trim sits on top of that system, shielding the tile edge from chips and hiding the cut face of the tile. Set trim into thinset over the membrane. Never drive a fixing through the membrane to hold trim in place, since each hole is a leak path.
Where trim meets glass or a door frame, leave a joint for flexible sealant. That joint takes movement, while a rigid grout joint in the same place will crack and open a path for water. Check that joint at handover, before the first shower runs.
Which Material Holds Up in Constant Water
Four materials cover most shower work: stainless steel, aluminum, solid brass, and PVC. The right pick depends on water load, cleaning routine, and budget. Each one earns its place in a different zone, so read the table with your zone map beside it.
| Material | Water resistance | Finish range | Best shower zone | Watch out for |
|---|---|---|---|---|
| Stainless steel 304 | High in most indoor showers | Brushed, polished | Wall ends, curbs, niches | Needs 316 near salt air |
| Stainless steel 316 | Highest of the four | Brushed, polished | Coastal and pool showers | Higher cost, heavier to cut |
| Aluminum 6063 / 6463 | Good when anodized | Anodized, powder coated | Wall ends and dry-side edges | Harsh cleaners can dull the surface |
| Solid brass H59 | Good with a sealed finish | Lacquered, chrome-plated, smoked chrome | Feature walls and niches | Needs a sealed finish |
| PVC | Never rusts or rots | White and set colors | Budget jobs and wet floors | Dents under hard knocks |
Stainless steel is the default for daily-use showers, and grade 304 serves most indoor showers. Grade 316 is the pick where salt air or pool water adds load, so the grade gap is worth a short read first. Our 304, 316, and 316L stainless steel tile trim comparison sets out where each grade fits.
Aluminum suits wall ends and edges away from standing water, and it also cuts easily on site. Anodized aluminum resists daily spray. It can dull under strong cleaners, so ask about the cleaning routine first.
Brass brings a warm tone to feature walls and niches. Order it only with a sealed finish: lacquered, chrome-plated, smoked chrome. PVC costs least and never rusts, so it fits budget jobs. It dents more easily, so keep it off curb tops that take foot traffic.
Profile Shapes by Place, Not by Looks Alone
Three shapes cover nearly all shower work. The L profile gives a thin, crisp line, and it suits modern large-format tile and partial-height walls. The rounded profile gives a soft edge that sheds water, and it suits niches, benches, and curb tops, where bare feet touch the edge. The square profile gives a bolder frame, and it suits thick tile and feature walls where the edge is part of the design.
Match the shape to the zone. Use the rounded profile on the curb top and on niche corners, where factory corner pieces give a clean joint. Use the L profile on wall ends and the square profile where the edge must read as a frame.
Mitered tile, with no metal at all, can look fine on a niche in large porcelain. It costs more labor and leaves a sharp edge. Bullnose tile is the older answer. It works with subway and ceramic tile, but it needs a matching piece for every tile size you stock.
How to Size Trim to Your Tile
Trim size follows tile thickness, not tile size, and common wall and floor tile runs 8, 10, or 12 mm thick. Measure the tile body first, then add the thinset bed under it. Pick a trim depth equal to tile thickness, or one step larger, since a trim that is shallow leaves the tile proud of the edge. A trim that is too deep leaves a recess that traps water and dirt.
Membranes add thickness too. A sheet membrane under the tile lifts the finished face by a small amount. Tell the supplier the full build-up: tile thickness, membrane type, and thinset bed. Do not guess the depth from a photo, because one wrong depth across a whole order means rework on every wall.
Our tile trim dimensions and compatibility chart maps common tile thicknesses to trim depths. Check the pick before you place the order. For the full method, see our guide to choosing the right trim size.
Curb, Threshold, and Glass Edge: the Three Leak-Prone Joints
The curb fails more often than any other shower zone, since it takes foot traffic, standing water, and cleaning tools. Cap it with a rounded metal profile or a solid stone cap. Slope the top slightly toward the shower, so water runs back inside. A flat curb top holds a puddle, while a curb top that slopes outward sends water to the bathroom floor. Check the slope before tile goes on.
The threshold where the shower meets the bathroom floor needs the same care. The trim here must bridge two floor levels without a lip that trips bare feet, so a low, rounded profile works best. Seal the joint under the trim with flexible sealant, not rigid grout. Grout cracks under foot traffic, while sealant flexes and keeps the joint closed.
The glass edge moves. A fixed panel shifts a little with heat and use. A door swings and pulls at its frame. Leave a sealant joint where tile meets glass, and let the trim sit flush with the tile face.
A trim edge that stands proud catches washcloths and traps water behind it. A trim edge set back leaves a ledge where soap scum builds. Flush is the target, so check it with a straight edge as the tile goes in.
Installation Sequence That Keeps Water Out
Trim goes in with the tile, not after it. Set the sequence in the work order before the first tile is cut on site. Each step protects the membrane and keeps the trim face flush with the tile.
- Finish the membrane first. Run it up the walls, across the floor, and over the curb. Tie it into the drain.
- Dry-fit each trim length. Mark the cuts. Check corner pieces against the real opening.
- Bed the trim in thinset over the membrane. Do not fix through the membrane.
- Set the edge tile into the same bed. Press it flush with the trim face.
- Leave sealant joints where trim meets glass, the door frame, and the floor. Grout the fixed joints only.
- Let the sealant cure fully before first use. Follow the sealant maker’s cure time.
Two checks catch most errors early. First, run a finger along each trim face after the tile is set, because any step or lip means the depth is wrong. Second, pour a cup of water on the curb and the niche sill, since it should run back into the shower. Still water will leave marks and feed mold. For common site errors, see our rundown of installation mistakes.
The Niche in Brief
The niche deserves its own plan, but only a short note here. Slope the sill toward the shower, so water drains out, and waterproof the box before tile goes on. Use factory corner pieces for the four outside corners. Size the opening to the tile courses, so no thin sliver is left at the edge.
The full four-corner method is in our shower niche tile trim guide. If your project has a bath as well as a shower, the bath joints follow different rules. Our bath tile trim guide covers the tub to wall joint and the bathroom wall zones.
Shower Trim Buyer Checklist
Send these items to the supplier in writing before you order, because written answers beat a verbal promise when a shipment lands wrong. Ask for the profile drawing with the depth marked. Ask for the material grade in writing, such as 304 or 316, and the finish name with how it is sealed. Ask for corner pieces, end caps, and connectors as a set, not as loose extras.
- Profile drawing for each zone, with depth and face width marked.
- Material grade in writing: 304 or 316 stainless, 6063 or 6463 aluminum, H59 brass, or PVC.
- Finish name and sealing method for brass and coated aluminum.
- Corner pieces, end caps, and connectors listed per zone, with counts.
- Length per piece and how lengths are packed for transport.
- Sealed sample kept by the factory, with the retention term stated.
- Lead time for samples and for bulk, in working days.
- MOQ per material and per finish, since finishes can carry their own MOQ.
NIUYUAN Metal keeps a sealed sample on file for two years, so a later batch can be matched to the first. Our MOQs are 1,000 pieces for aluminum, 500 for stainless steel, 200 for brass, and 2,000 for PVC. Samples ship in 7 days, or 7 to 10 days for custom work, while bulk runs take 20 to 30 working days.
Our first technical reply comes within one working day, and the mold fee is refunded once the agreed cumulative order volume is reached. Confirm each point in writing for your own order, since terms vary by finish and volume.
Mistakes That Show Up After Handover
The most common mistake is picking trim by color alone. A finish that looks right in a sample box can fail in a shower that runs hot every day. Ask how the finish is sealed and what cleaners it tolerates. The second mistake is ordering one profile for the shower, since the curb needs a rounded cap while the wall end needs a thin L. One shape cannot do both jobs well.
The third mistake is sealing a movement joint with grout. Grout is rigid. The joint at the glass edge and the floor line moves a little each day, so rigid grout cracks and the crack lets water in. The fourth mistake is skipping the dry-fit, because trim cut on site without a dry-fit leaves gaps at corners. Factory corner pieces fix this, but only if they are ordered with the trim.
For a plain-language start, see what tile trim is. For coastal projects, see our notes on aluminum tile trim in coastal projects. Both pages give background that helps before you size an order.
Decision
Map the five zones first, then give the curb and the glass edge the strongest profiles. Pick 316 stainless or PVC where salt air or pool water adds load. Size the trim to tile thickness plus the thinset bed, and order corner pieces with the trim, not after it. Then send the checklist above and get each answer in writing. A shower built this way keeps its edges clean and its walls dry.
FAQ
What tile trim is best for a shower?
Stainless steel suits most showers. Grade 304 fits indoor showers. Grade 316 fits coastal, outdoor, and pool showers. Aluminum fits wall ends away from standing water. PVC fits budget jobs. Pick by zone and water load, not by color alone.
Does shower tile trim keep water out of the wall?
No. Trim protects the tile edge and gives water a clean path to drain. The membrane behind the tile keeps water out of the wall. Trim set through the membrane can create a leak path, so bed it in thinset over the membrane.
What size trim do I need for shower tile?
Match the trim depth to the tile thickness, or pick one step larger. Common tile runs 8, 10, or 12 mm thick. Add the thinset bed and the membrane build-up. Tell the supplier the full build-up before you order.
Should the shower curb slope toward the shower?
Yes. Slope the curb top slightly toward the shower, so water runs back inside. A flat top holds a puddle. A top that slopes outward sends water to the bathroom floor. Check the slope before tile goes on.
Can I use aluminum tile trim in a shower?
Yes, in most indoor showers, if the aluminum is anodized. It suits wall ends and dry-side edges. Keep it off curb tops that take foot traffic. Harsh cleaners can dull the surface, so check the cleaning routine first.


